Category: Uncategorized

Festive Wreath Making Instructions for use with our DIY Kits


Contents of your kit

1x ready mossed, wire wreath base

1x reel binding wire

8x Floral stub wires

1x quantity assorted foliages (enough to cover wreath base)

1x wire edge ribbon

1x quantity cones

1x quantity dried decorations some of these may have long enough stems to bind into the wreath base alongside then fresh  foliage its only the shorter stemmed or stem less decorations you need to set aside for wiring.

Please store in cool vermin proof place prior to use but please use within 1 day of receipt. An out house/ garage/ shed etc is ideal, the colder the better!

The quantity of foliages provided within this box, when used correctly, should be sufficient to create your wreath fully.  If you wish to make your wreath completely unique, you may wish to add further foliages/ twigs in addition to those provided.  So feel free to cut further items from your gardens etc, to enhance your designs and have them cut to length (approx 12-15 cm, or longer if you want to create some looseness to your design) ready to use before starting to assemble.

Step 1

Lay out all of the foliages you are using, in piles of their type, out on a workbench/table in front of you, so they can be easily reached. You will find some are the same type but larger or smaller in their size, lay these out separately in their size group and aim to distribute them evenly around the wreath base as you apply.

**Tip**

Use the larger sized pieces of foliage to define the outside edge of the wreath, with the smaller pieces laid on to cover the middle/top of the moss frame.

Immediately in front of you position the roll of binding wire and the mossed wreath base so it appears dome shaped rather than dish shaped.  It has been packed the correct way up for use in the box, so this should help.

Position, for now, all the decorations/ ribbon and stub wires to one side for use later.

Step 2

Attach the binding wire to the outside edge of the mossed wire frame, making sure when you tug the roll of wire it doesn’t unwind or come loose.  You don’t want everything to unravel after you’ve bound it all on.  Take care to position the mossed ring back in front of you the correct way up and you should now have the roll of wire attached to it and laying to the outside of the wreath base.
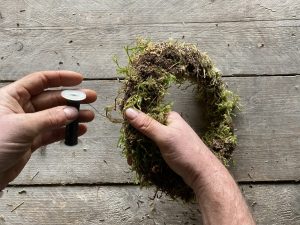
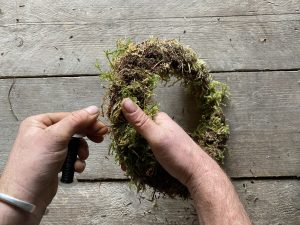
  

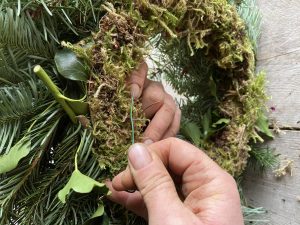
To ensure the easiest way to bind the foliage onto the wreath always work holding the foliage, pointing the right direction, against the moss base and bind over the top of the stem part to be secured and into the middle (the hole) of the wreath.

Step 3

Select a good fan shaped, larger, piece of pine as your first foliage to apply, this will help at the end when you bind the last pieces on.  If you use a prickly foliage at this point it will make it very painful for yourself when you come to finish all of the foliage binding and tie off your binding wire!
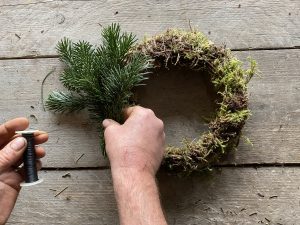

  

Keep binding on foliages one by one, using a different type each time and make sure you are taking care to create the wreath evenly all the way round and covering the moss base as you go.  Always lay the next piece of foliage to be applied on top of the previous piece, ensuring that you’re seeing the completed section moving away from you as you apply the next pieces of foliage to the wreath base. Aim to bind on a different variety of foliage each time you apply a piece.
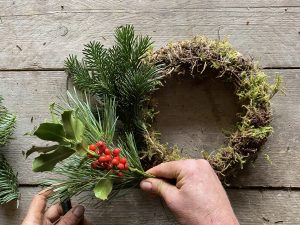
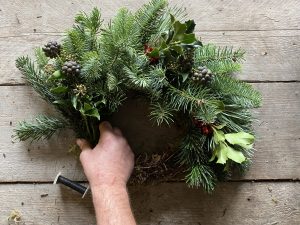
 

Once around 5 pieces of foliage have been applied, take stock, look at the sequence you have created and then to ensure an evenly round wreath try to apply the next pieces in the same sequence.  (Sometimes the actual shape of the individual pieces of foliage may hinder this to maintain the even shape of your wreath, so use your own judgement here, to keep things looking neat and even.)  Keep repeating the sequence until you have reached as close as possible to where you started and we mean close, don’t give up until you have the last pieces of foliage about to have their stalks butted beneath the first pieces of foliage applied (See  step 4)

**TIP**

Work around the wreath base applying slowly and steadily, binding each piece of foliage individually. You are aiming for all of the foliage to be applied upon one rotation of the wreath base.  You can’t bind round a second rotation without snagging pieces already applied (should you need to fill in any gaps) so care need to be taken at this stage.

DON’T RUSH IT!!!

Step 4

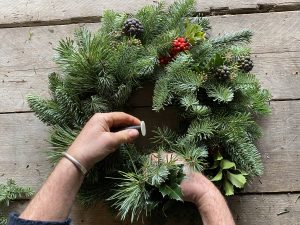
Finish binding on the last pieces of, making sure where the point of binding is it is covered sufficiently by the first piece of foliage attached. (This is why you needed to start with a softer type of foliage!)  Lift the first piece of foliage up like a flap ensuring the stalks of the last pieces of foliage are tucked well beneath before binding on with the wire.
Step 5

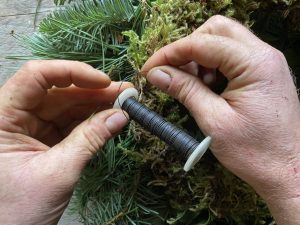
Secure the binding wire by creating a slip knot to pull tight, make sure this is pulled tight enough to ensure no pieces of foliage come loose from the base. Once all secure, cut the binding wire leaving 2” (5cm) of end to push back into the moss on the base to make safe and ensure you don’t stab yourself with sharp wire ends.
Step 6 Making the bow.

Wired edge ribbon is the easiest way of creating a bow for it to hang nicely and keep its shape whilst on the door exposed to the elements.

You can either tie as you would your shoelaces then thread one of the stub wires through the back of the knot created and use this wire ‘stalk’ to push through all of the foliage and mossed wire base and fix securely by pulling wire and then bending the end back into the moss.

Alternatively, the florist wreath bow, (made in two pieces)

Cut one piece of ribbon approx 45 cm (18”) long fold in half and attach to a stub sire stalk by bending the wire over the ribbon at the fold  and twisting the wire back on itself to secure.  This piece will create the tails of the bow, so to make look better enhance the cut ends either by cutting them on the diagonal or creating an inverted V shaped notch.

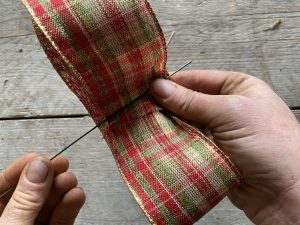
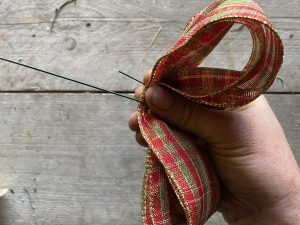
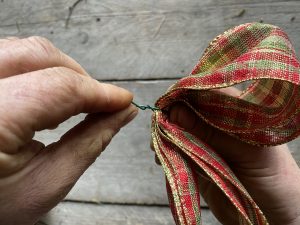
With the remainder of the ribbon, roll it into a large ‘double round’ with 2 rotations of ribbon, ensure the cut ends of the ribbon visually overlap each other, one appearing on the inside of the roll and one on the outside.  Directly at the mid point of where the ends overlap create a fold, on this fold use a stub wire to wrap around the ribbon and twist back on itself to secure.  You will need to scrunch the ribbon on the fold up the wire to compress the fold as much as possible.  This will keep what are about become the ’loops’ of the bow and they won’t spring apart when you then ‘fluff’ the bow out to assume it’s true shape. Creating what looks like two loops each side of the securing stub wire. See the picture on our webshop to see the desired look of the bow.
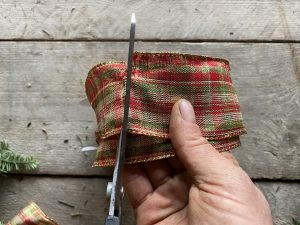
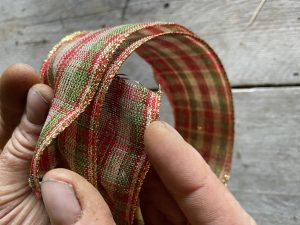


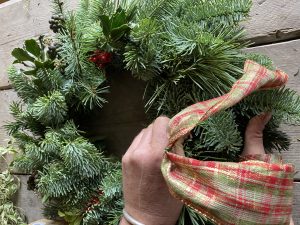
Attach the tails of the bow first into the wreath, as described above.  Then push the wire of the bow loops into the exact same place the tail were attached. Pull the wire to make sure the bow sits securely in the wreath, then ‘fluff’ as required to look its best.   

Ta da!!! One posh bow!!

Using the Ribbon as Trails only. 

If the bow scares you and you wish to just have trailing ribbons instead (as some of our designs do show on the webshop) please ensure you have/cut the ribbon into 2 pieces at approx 75cm in length, fold in half but ensure all of the cut ends are offset from each other at least 2” (5 cm) so they hang any different heights.  Notch the cut ends with an inverted ‘V’ or cut at a 45 degree angle.  At the fold twist a stub wire around this point to create a stalk and push through the foliages and wreath place in the desired place to attach, making sure to bend over the pulled through wire and bury back into the moss base at the back of the wreath.

Step 7 

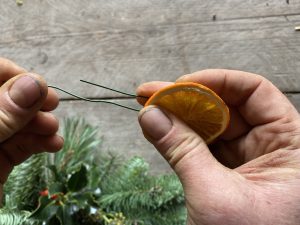
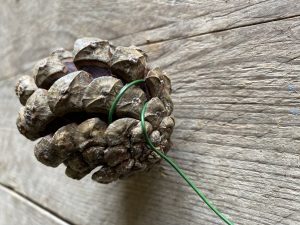
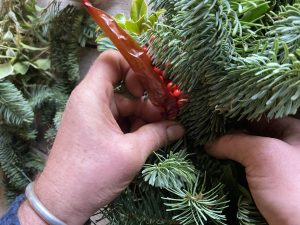
Cones and dried decorations are attached in the same way as the bow using a stub wire  by either threading the wire through or wrapping around the items concerned and twisting the wire back on itself, to create a wire stalk to attach them with.  Smaller decorations (not Cones) will only require half a length of stub wire, so cut to length first before using.
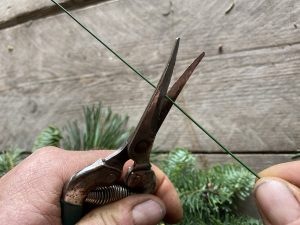
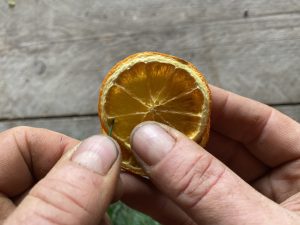


Alternatively if you have a hot melt glue gun, the smaller decorative items can easily be attached this way.

**Tip**

Always attach your bow first and then your other decorations.  Otherwise you find the bow will end up covering over smaller decorative items and you will not be able to see them once on your door.  Make sure each of the smaller decorative items are positioned and attached to have their place to shine!

Step 8

Create a wire loop on the back of the wreath to enable hanging on the door.  Feed a stub sire through the outside rear edge of the mossed base, placing the loop in the favoured position to ensure the wreath hangs correctly.  Make sure the wire catches underneath the thicker wire edged rim of the moss frame. Create a loop by twisting the stub wire ends together.

Step 9

Prior to hanging, water the moss base to keep the foliage fresh for as long as possible.  Do this by laying the whole wreath moss side down in 2cm (1”) depth of water held in a tray or upturned dustbin lid. Leave to soak for 10mins the allow to drain on a lawn/ paved area for 20 mins before hanging.

Step 10 

Hang on your door or other preferred area (best outdoors for longevity) and enjoy!! 

 

Lastly

Have a lovely Christmas and thank you for your support and we look forward to a better 2021 for everyone!!………

Best wishes from us all at The Country Garden Flower Company
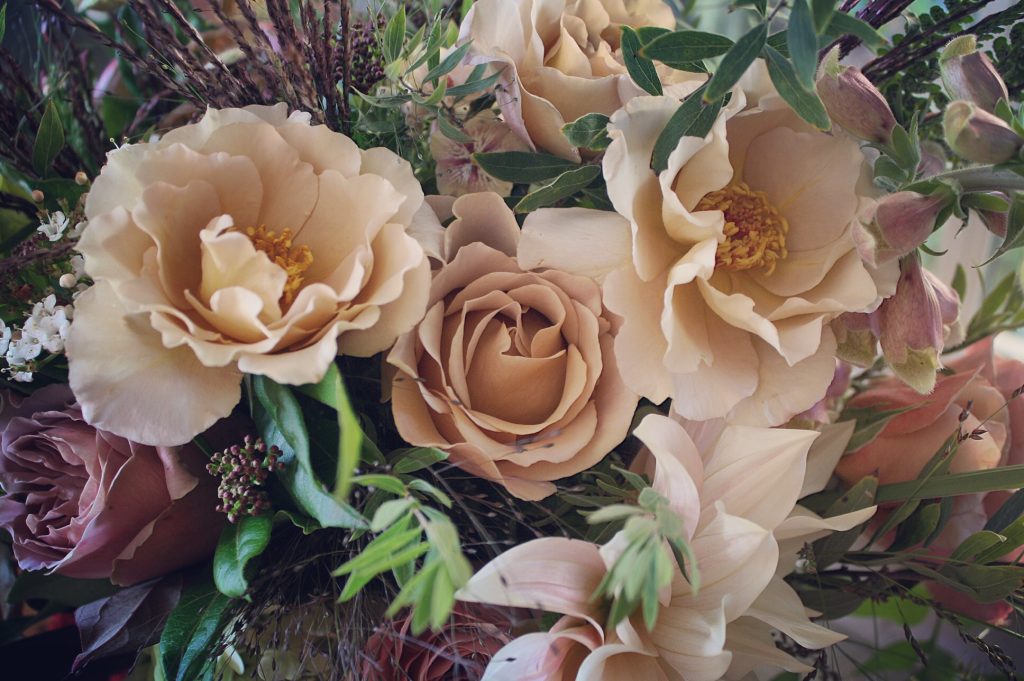
A little bit of last season…….

With the 2018 season’s growing schedules more or less sorted, sowing and propagation has kicked off in preparation for the pretty packed year ahead. Its only just February and we have had a few weddings already this year, which is always nice, a chance to get to show everyone there are British flowers out there you can have, even this early on.  They may not be the flamboyant blooms of summer but nonetheless, they are still beautiful in their own right.

Taking a glance back at last season we had the chance to work alongside some awesome couples, helping them develop their floral dreams for their big day.  From initial contact, right through to passing over the bouquet for a bride, it’s always a privilege for us and so much fun too!  To be a small part of all these memorable days is pretty cool and, take it from us, not one wedding is the same as another EVER, which makes for us a very diverse job, one you would never tire of.

There is always quite a broad variation in colours of flowers chosen to embellish each event, so what we grow throughout the year has to try and cover all bases, our variety list is pretty big now!   On the whole though, last year consisted of a lot of subtle tones, from muted buffs and apricots through to  the more traditional mixes of pastel tones and whites with plenty of green.  Just for good measure though there were some brights in-between, some very contrasting but most very cheerful mixes of bright festival style colours.  This year looks for us, more and more, like it’s heading to the latter in preference over the pastel tones.  So like we say, we’ll never get bored and were just itching to get growing a whole new range of very bright flowering plants to cut later on this season.

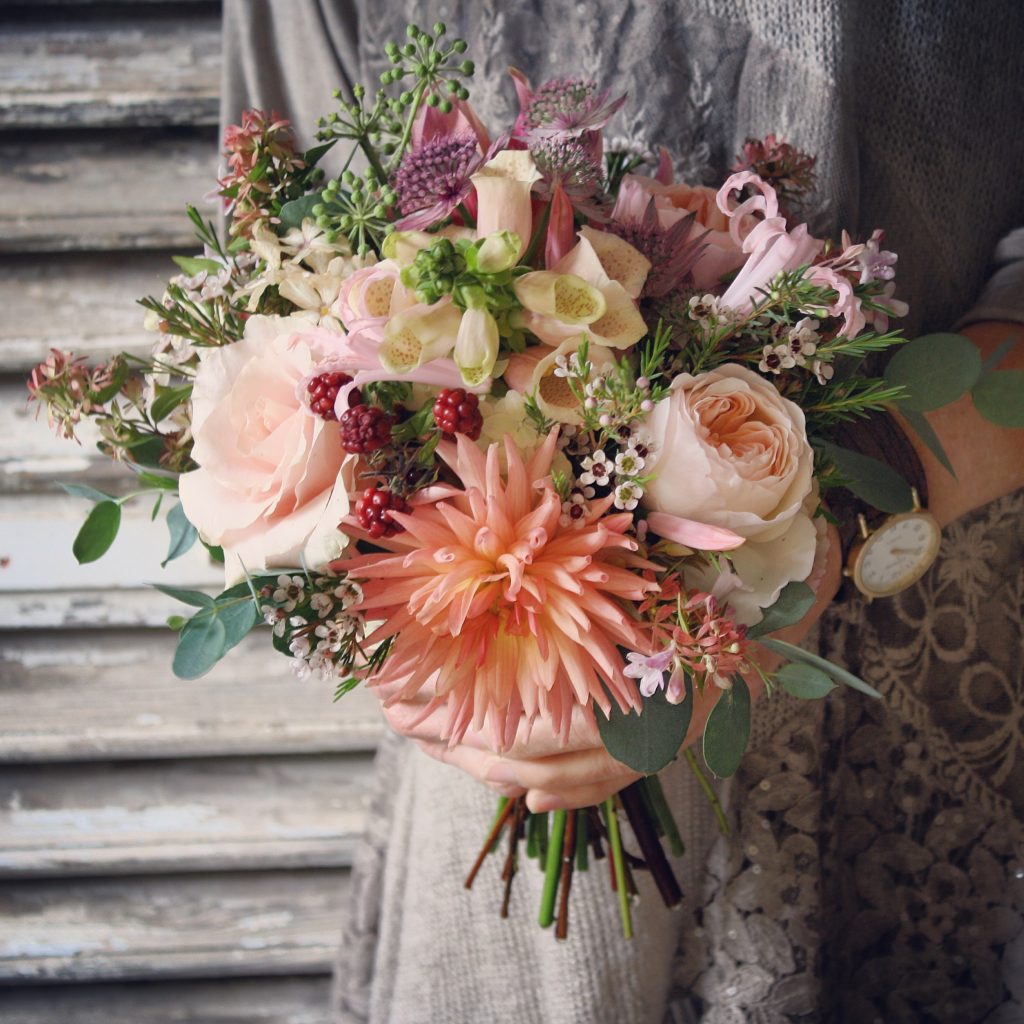
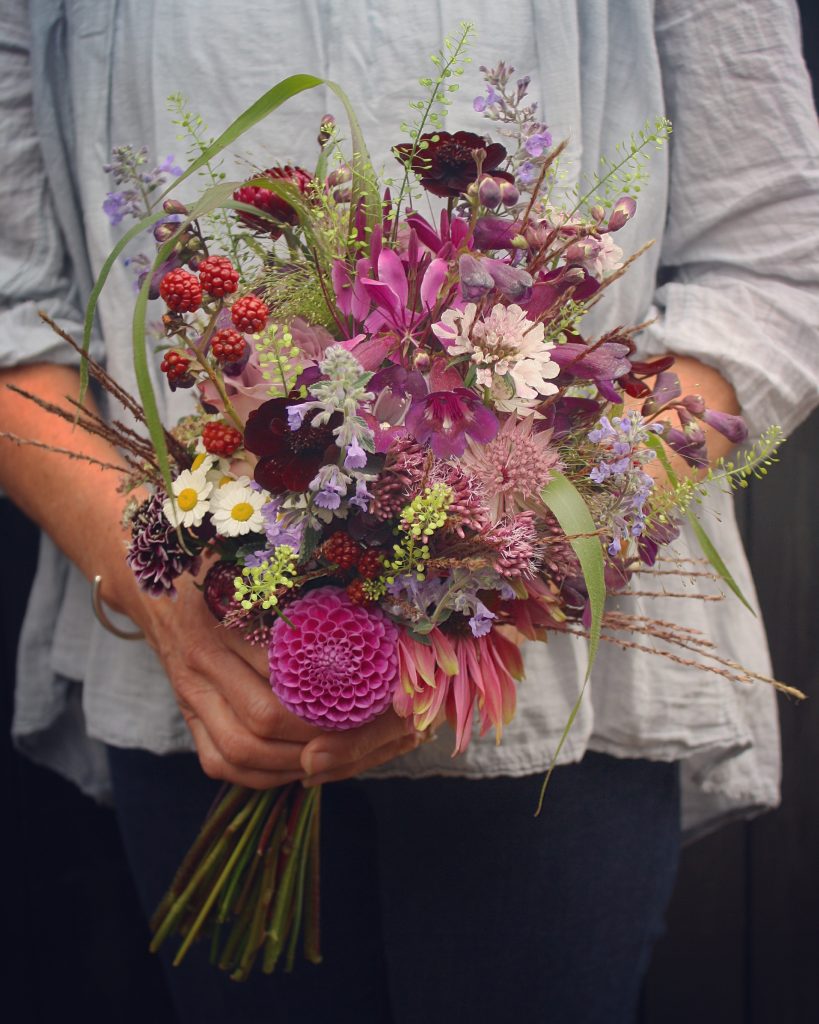
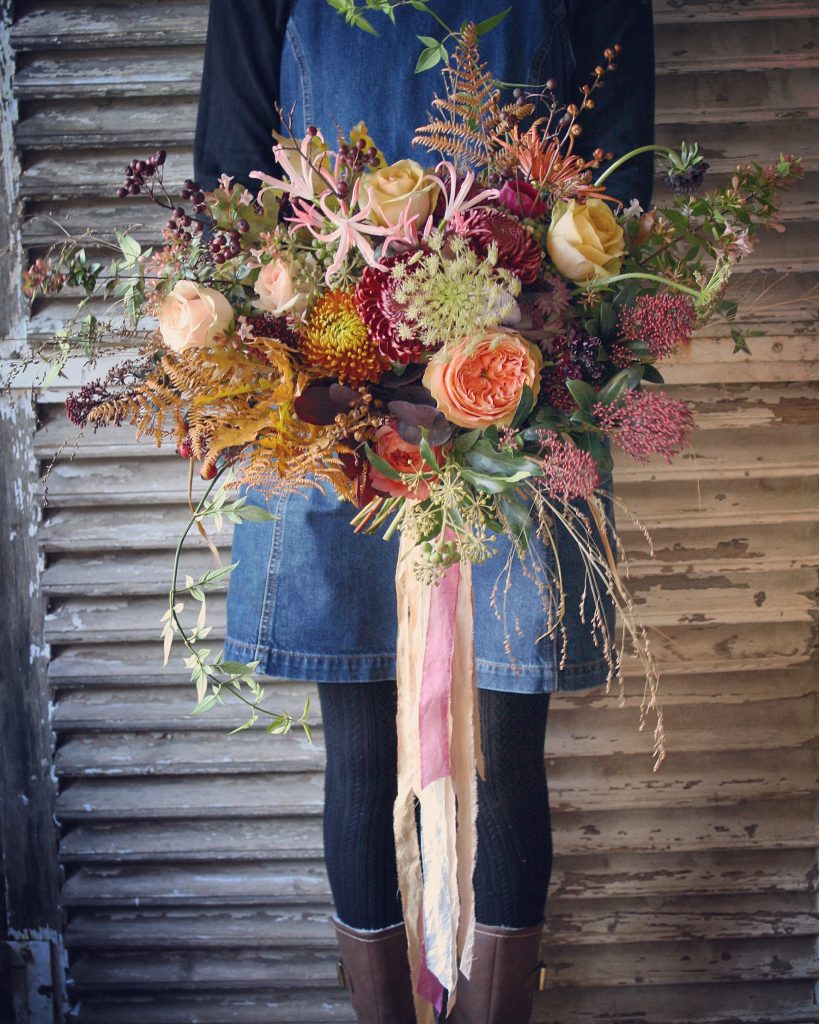
Here’s a quick glimpse of some of the weddings we provided for in 2017


New Introductions…..


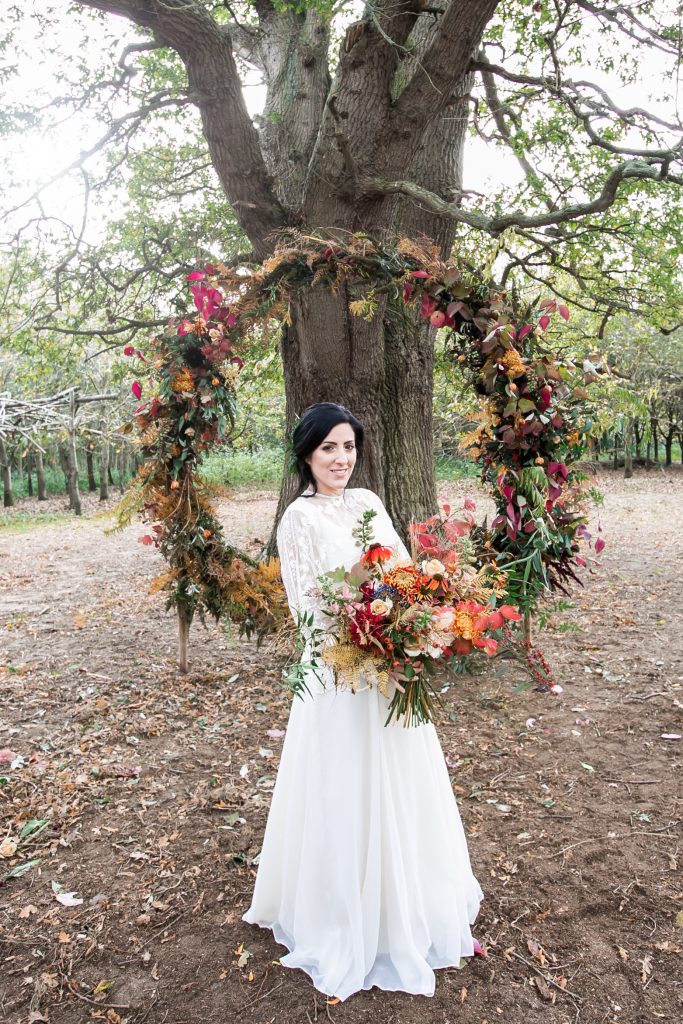
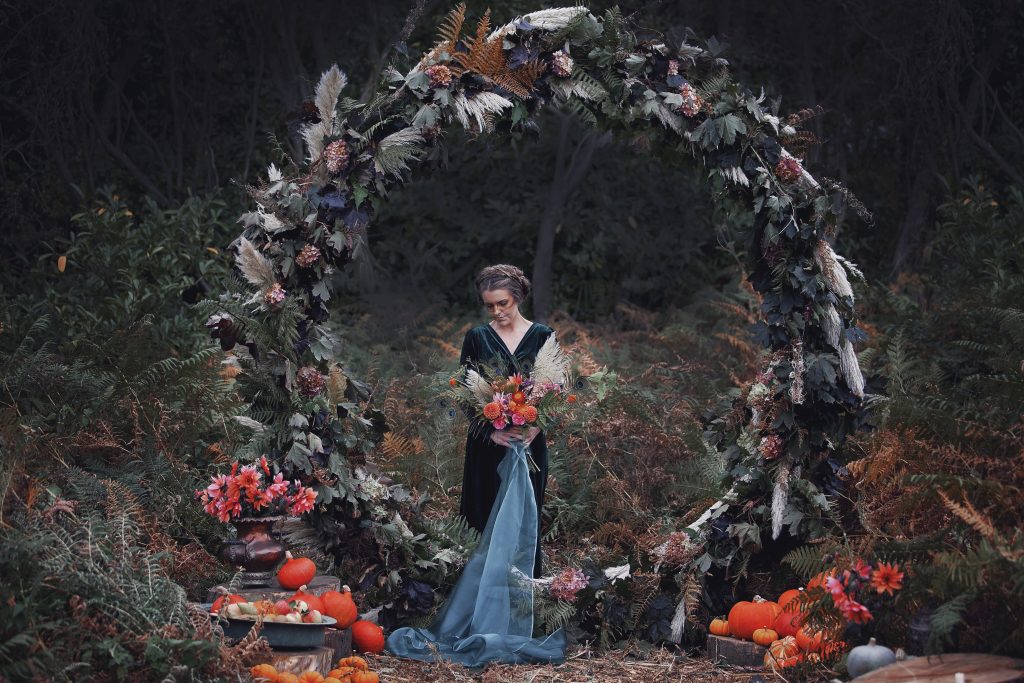
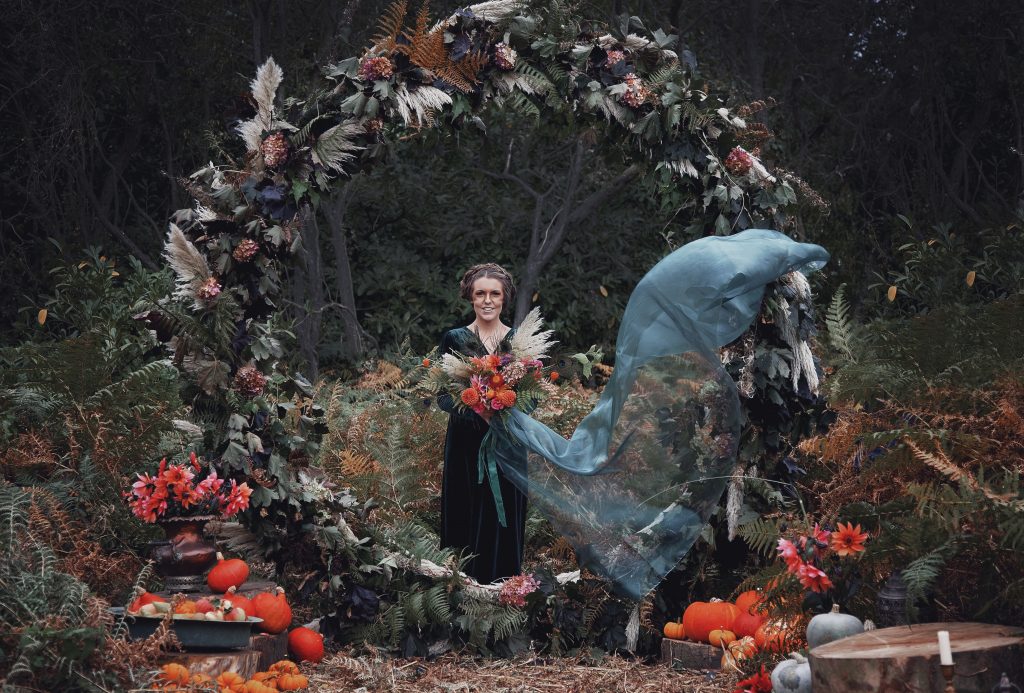
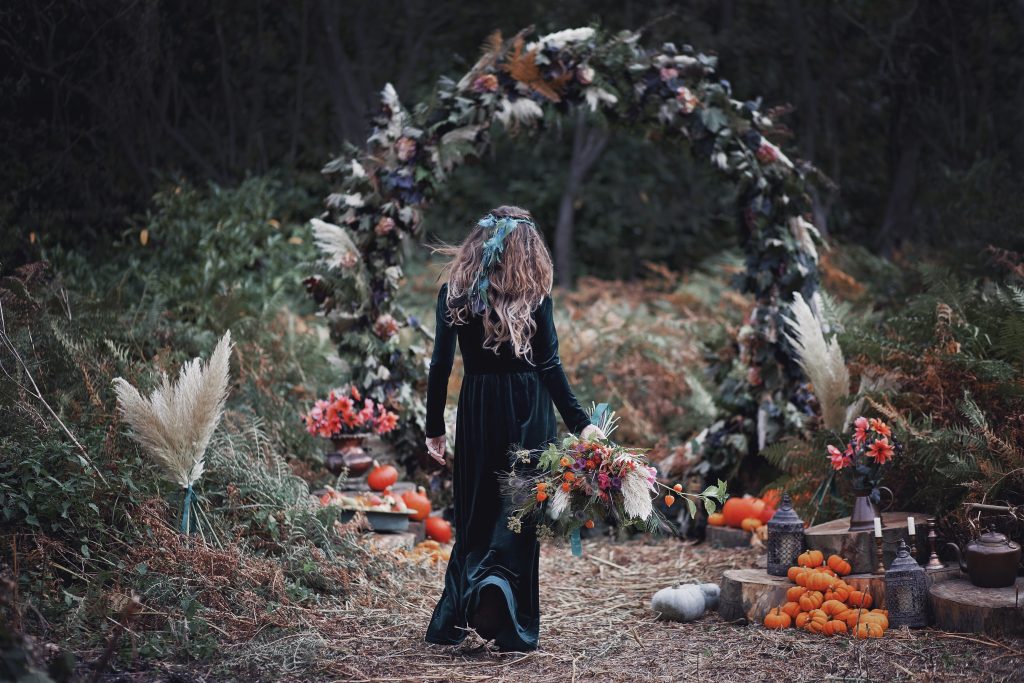
For 2018 we have made some new introductions and this beauty is one of them!!  Our new Ceremony Wreath is here, and ready for you to enhance your day. Imagine saying your vows standing in front of this!

We can dress it however you like to fit in with the theme of your day, from full on romantic – filled with English Roses, to absolutely striking – with a mass of different textures.  A true statement piece that can be used inside or out and that can be doubled up as a photo booth floral frame for you and your guests, after your ceremony.

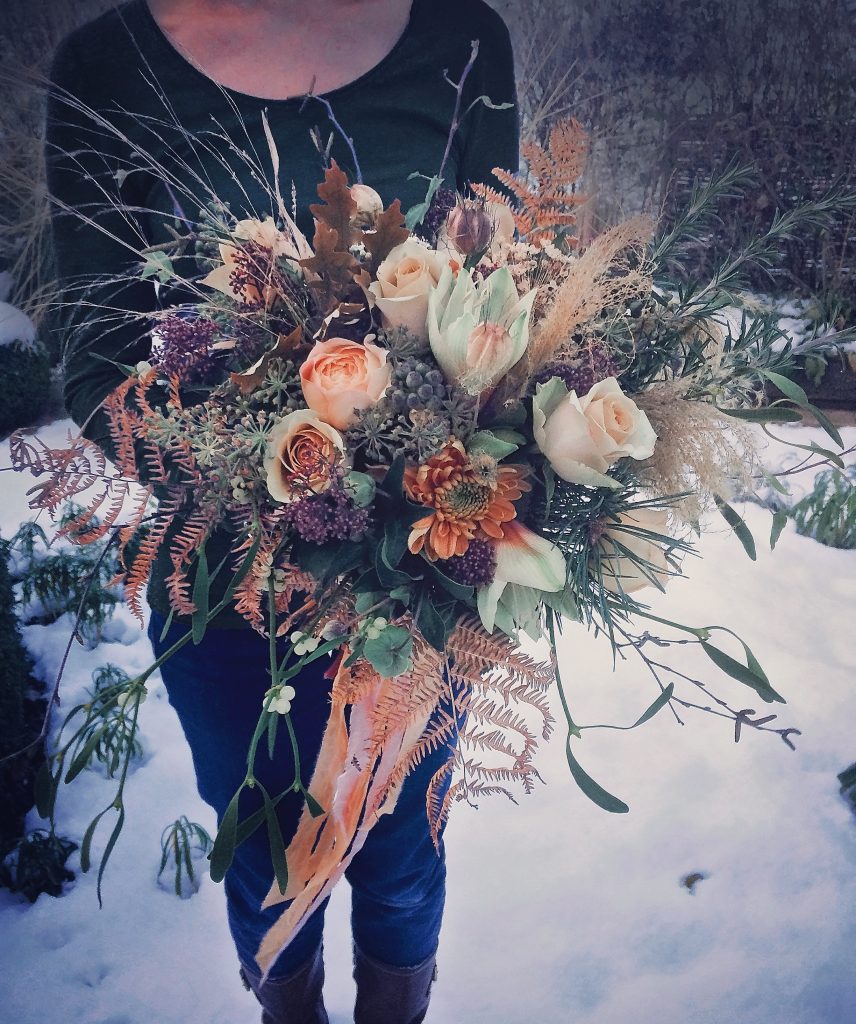
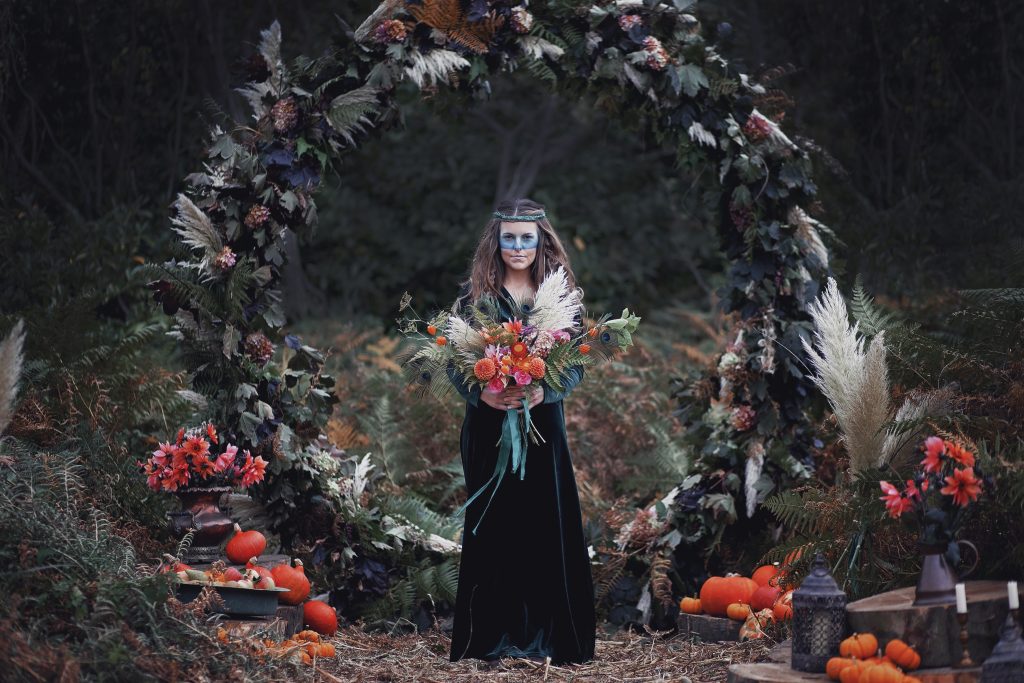
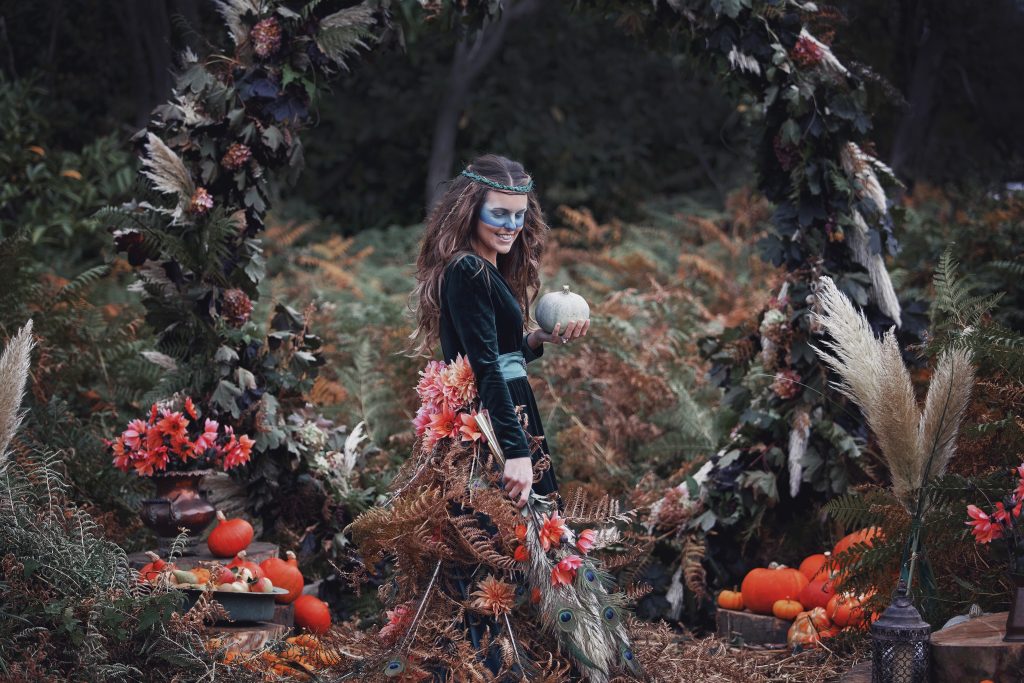
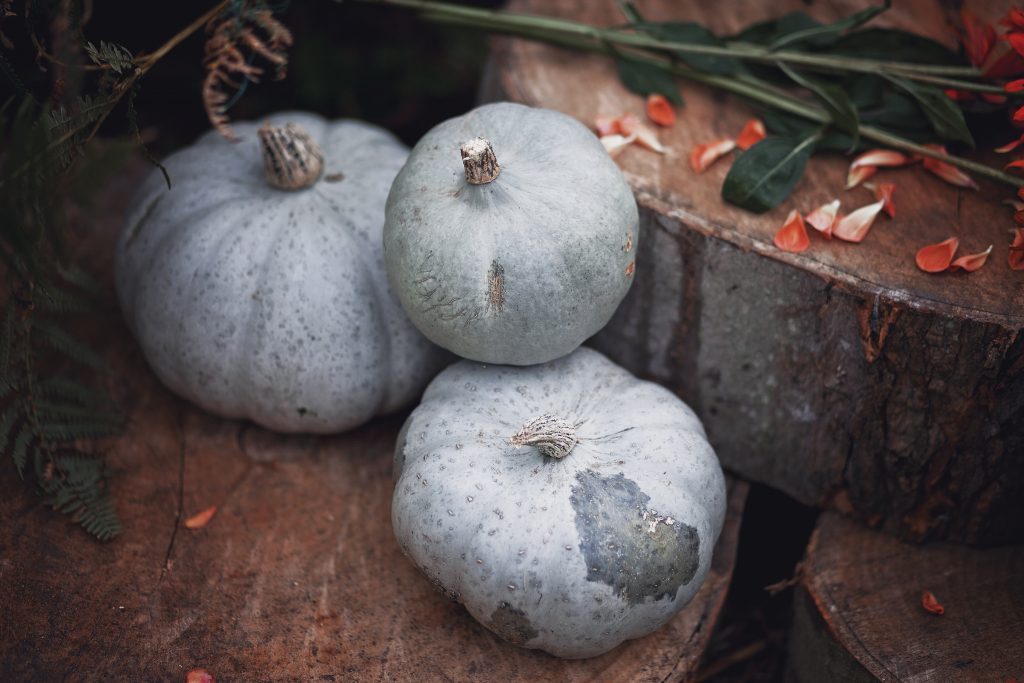
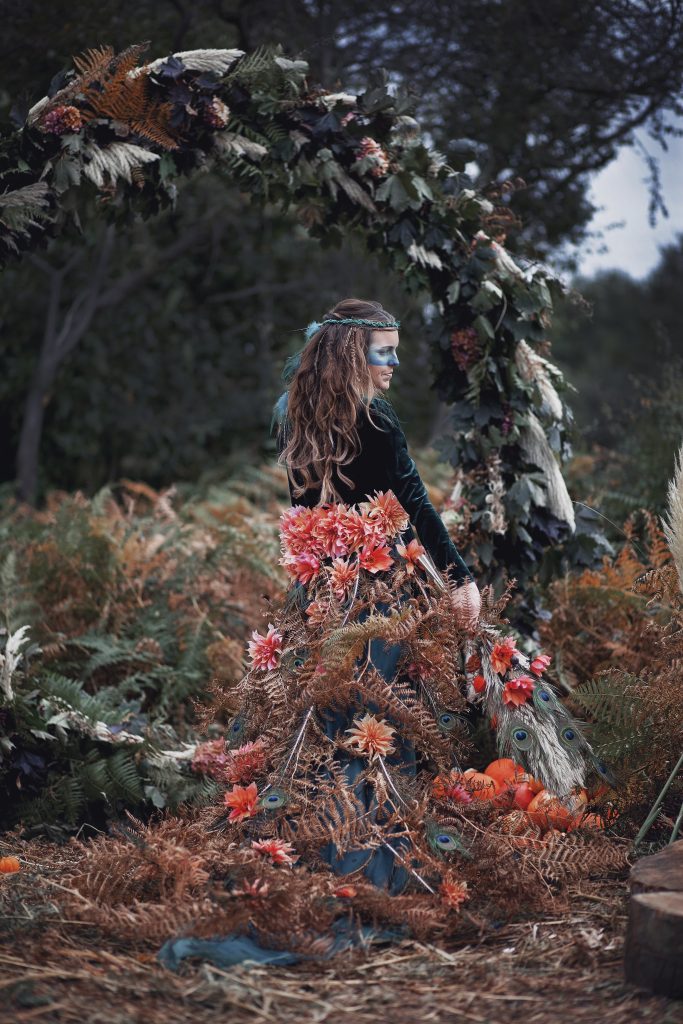
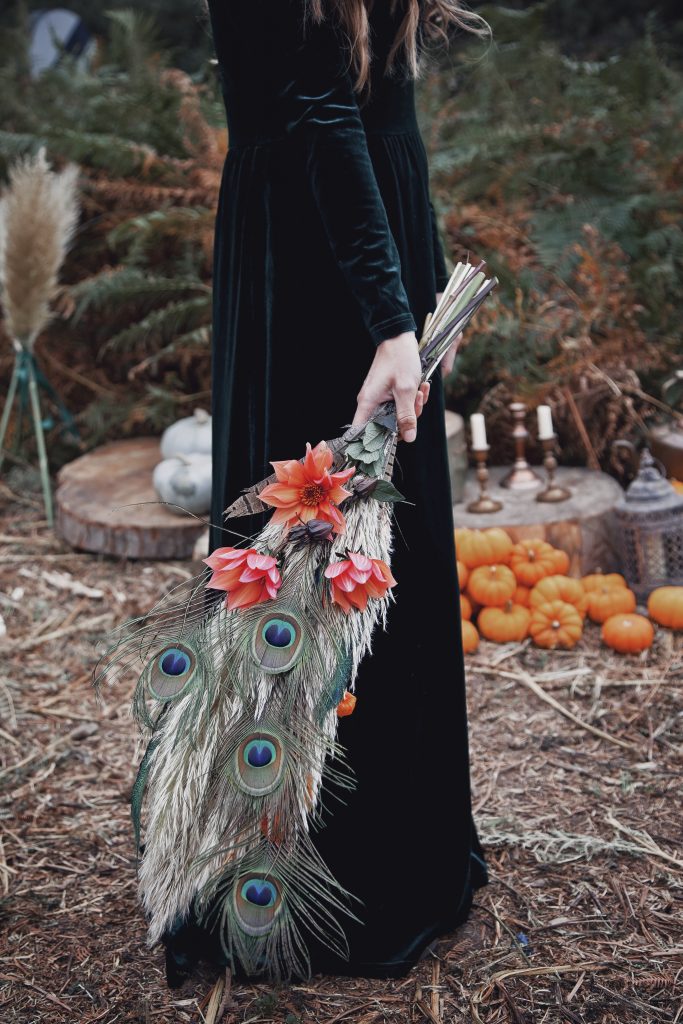
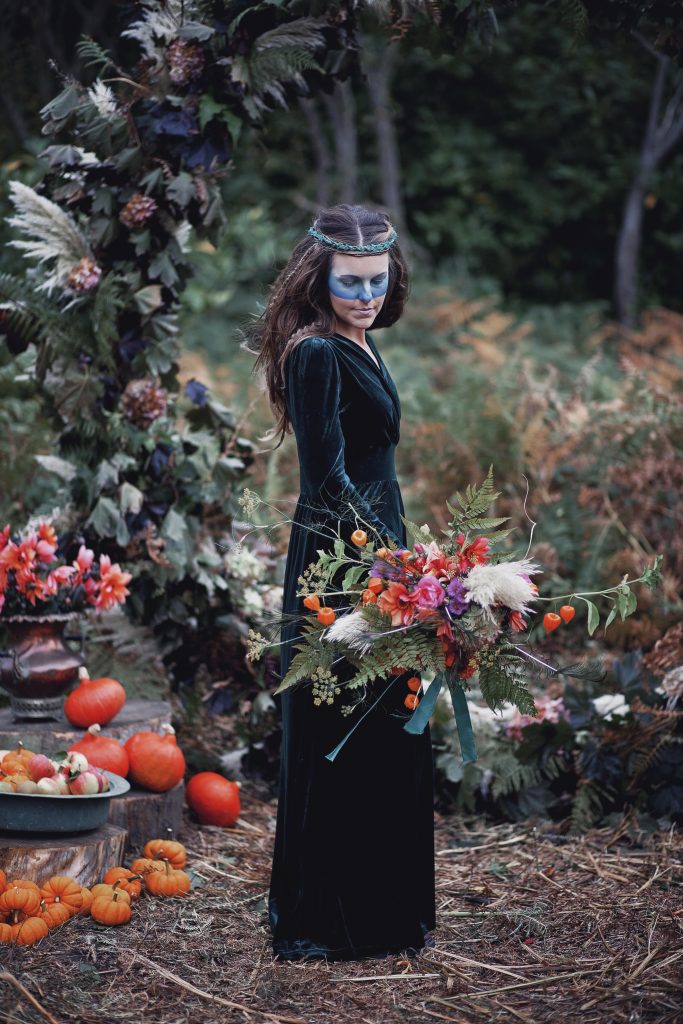
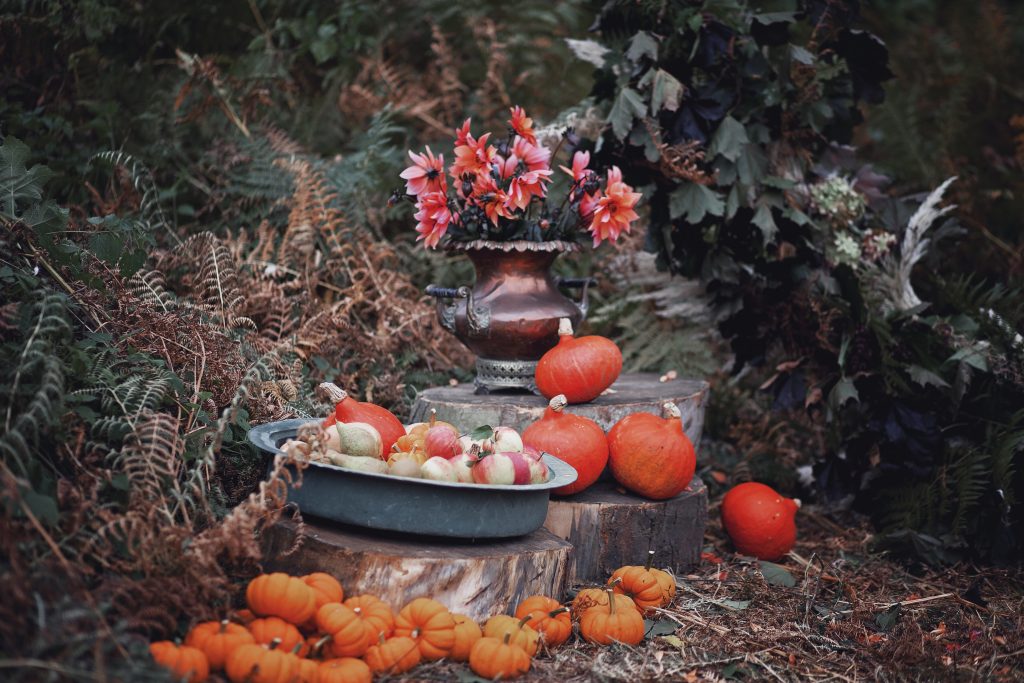
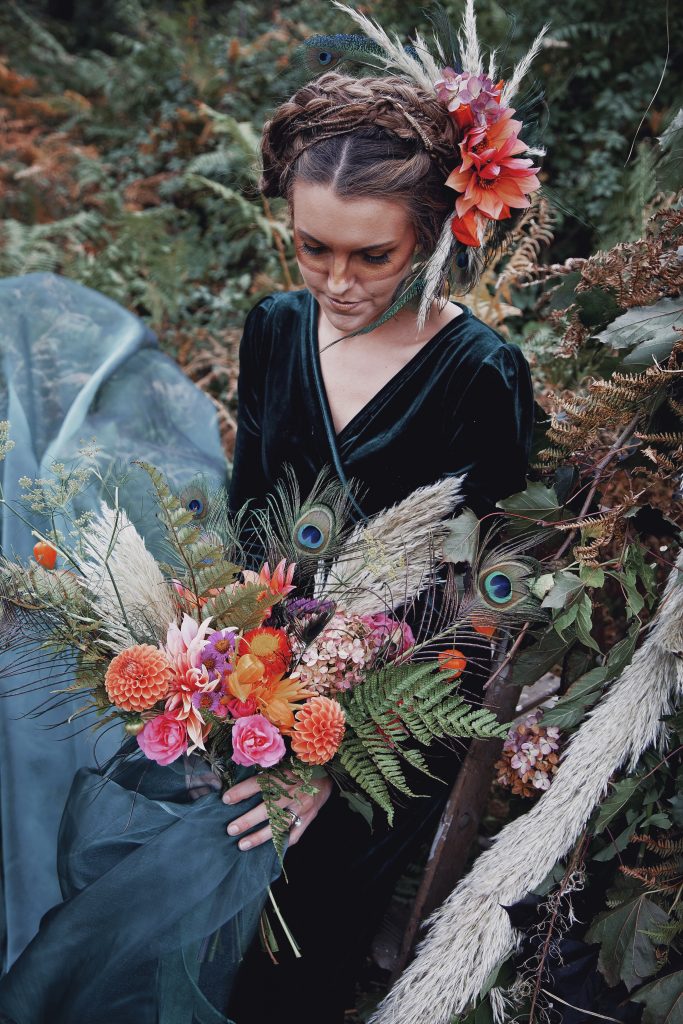
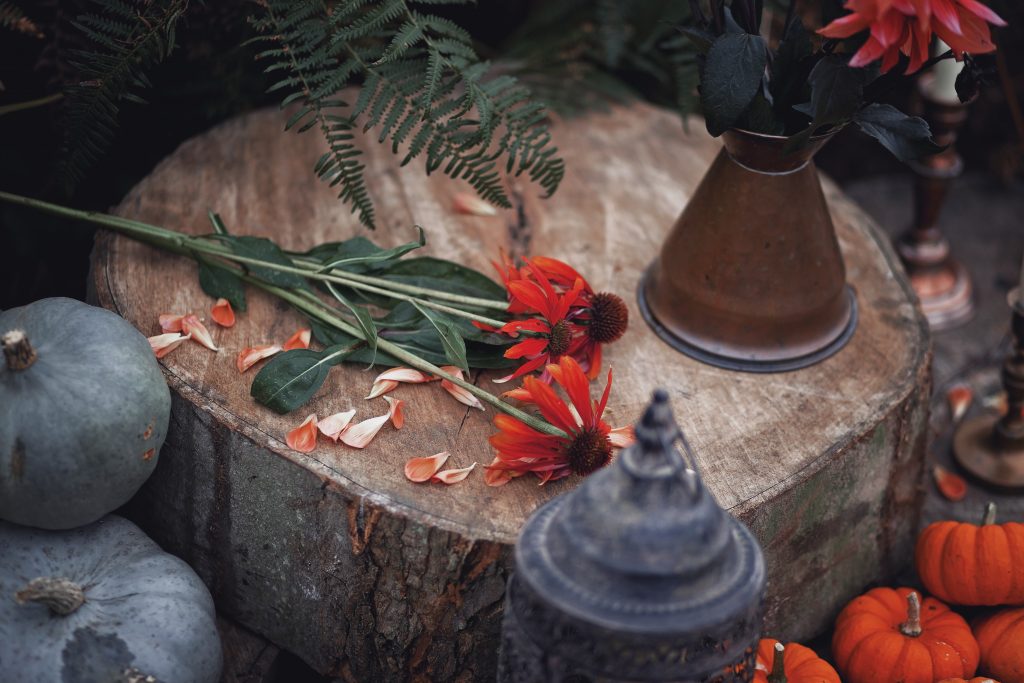
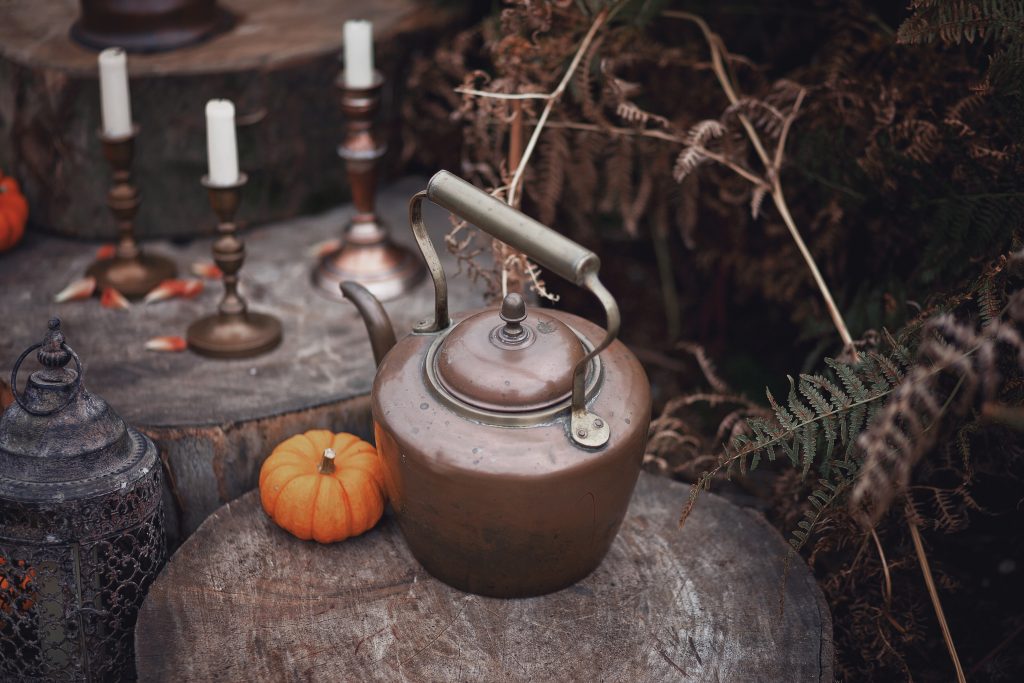
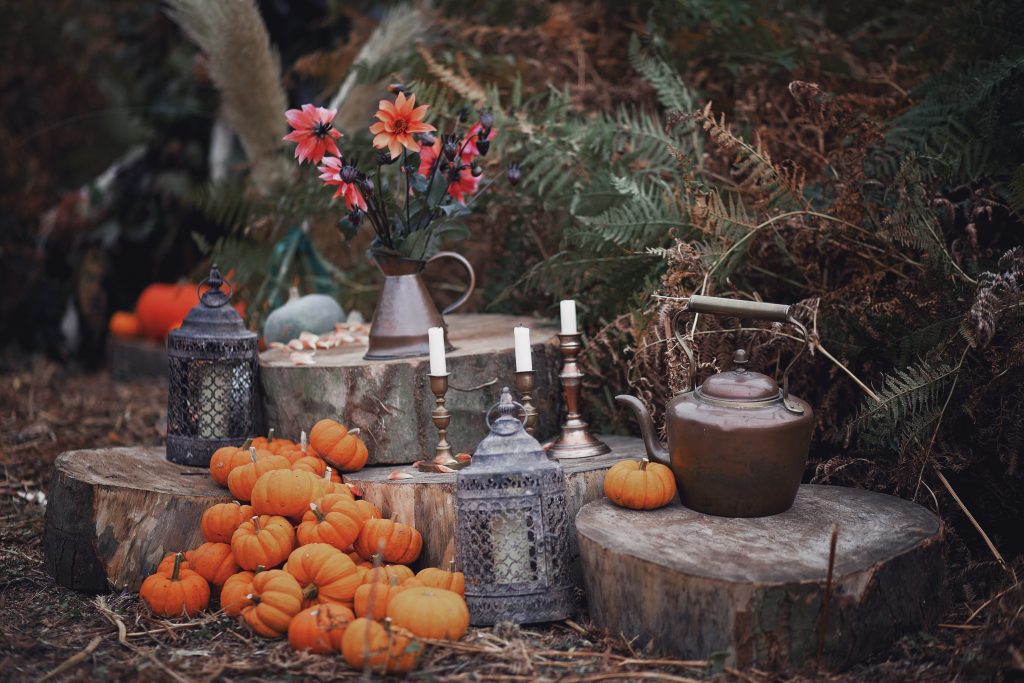
When we get the chance to experiment with something new our creativity goes on overdrive and the delivery of our new bespoke wreath frame coincided with what is one of the best times of the year for vibrant colour – Autumn.   If your looking for some ideas to style yourself a fantastic Autumnal wedding day take a look at our collaborative shoot we carried out in mid October, it was great fun styling this alongside some brilliant friends (see them all listed below) and allowed us all to experiment.  Inspiration taken from London Fashion week with  the appearance of make up masks on the catwalk alongside our colour palette inspired by, literally, our neighbour’s Peacocks and our new crop of pumpkins.  This all combined with the fun of making up our oversized wreath, with all the autumnal material to hand, lead to us all pushing things a little out of the ordinary.

We love pushing the boundaries when it comes to floral styling, anything that’s new we never shy away from.  We love to encourage our clients to never to be scared to ask us to try a new floral idea to make their day complete, EVERYTHING can be made – ‘where there’s a will, there’s always a way’.   Anyone who knows us will realise we’re not ones for rules, anything is possible.

Thankfully the convention that  surrounds weddings as to what and why you should have to have something is slowly being broken down, you guys out there planning for your wedding can now choose from endless ideas, to make your day yours.  We are here to help you to make the right choices, to suit you, your venue and importantly your budget but definitely won’t let convention get in the way.  The sky truly is, and always will be, the limit (and even then, there’s probably a way to flower that up too!!)

Photography:  Ella Violet Photography

Hair:  Turrell and Jones

MUA: Susan Michelle

Florals, Props and Styling:  The Country Garden Flower Company
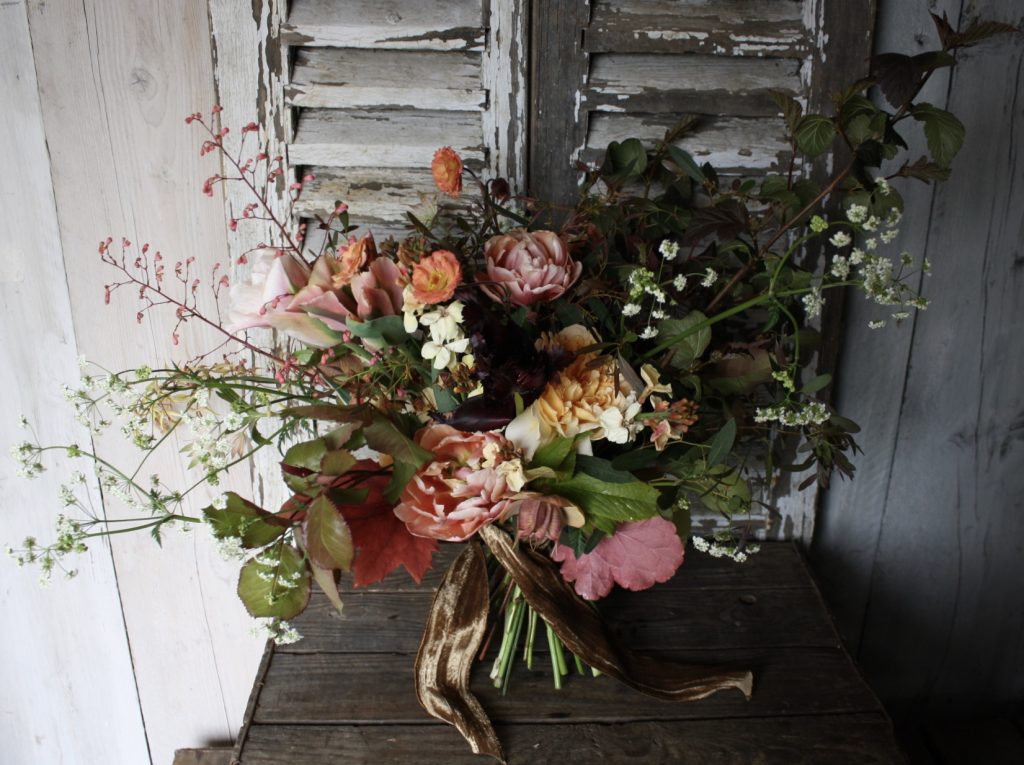


Creating something from nothing

If you have ever been tempted to start flower growing and have been too scared to take the plunge, don’t be.  Whether it be as a business or simply just growing a few flowers for your own needs, in a patch of your garden,  all of us have the capability to do so.  You may not be a professional grower, your background may be in something completely alien to the world of flower growing but if it is something you feel passionate about then jump in to this crazy world.

We have managed to do it and have created a business that now supports us, it hasn’t been easy don’t get us wrong.  There have been lots of pitfalls and steep learning curves and unless your one of the lucky ones don’t ever expect to be a millionaire!  Riches in this job come in different forms.  From being immersed in the natural beauty that surrounds you everyday, even in the depths of winter when little is growing, to the smiles on customers faces when they pick up a bunch of flowers from you or a Bride’s joy when they receive their wedding bouquet.  These are the riches that keep you nourished.  They are the things that drive you to keep planning, planting and creating from the produce you toil hard over.

We always have a lot of people comment to us how much they would “love to do what we do” but please don’t be fooled, this job is hard graft.  Don’t be expecting to be wafting round the cutting garden in a Cath Kidston apron from dawn ’til dusk, with your flower trug and snips in hand.  We think many who say the aforementioned, have a misguided vision of how our life may seem.

Be prepared to get down and dirty!  Shoveling copius amounts of manure and mulch for hours on end, weeding, clearing beds and digging – be prepared to put your back out on a fairly regular basis, and have hands stained with in ground dirt, this is not a job for the glamorous.  Then there is the battling of the elements – from working out in the rain to making sure everything is either anchored down or supported against prevailing winds and in the summer season the relentless watering, to quench the plants after the intense heat of the day.  Be prepared to have to do these tasks all over again just because of these elements, they’re going nowhere, you just have to try to keep one step ahead of them all the time.  At moments this job can be disheartening, when you just think you have ‘cracked it’ something else will come along to test you.  The biggest test we have are Pheasants.  Sometimes in our walled garden it’s like trying to grow flowers in a Chicken run holding a thousand ravenous hens.  Our plot is on a beautiful country estate that holds a traditional shoot and rears several thousand Pheasants to release in the Autumn.  From late September to early Spring these birds are literally like marauding locusts, attacking everything green, even digging/pecking established plants and their roots completely from the ground.  I will leave it there (I could swear a lot about these birds) but over the years we have lost a lot but have now hopefully worked out the varieties that are most resistant!!

The good parts of this job, thankfully, always outweigh the bad and once the flowers start in earnest there is no place you would rather be.

This year through our blog we thought we’d let you in on a little bit about how we operate here at HQ and provide you with some hopefully informative blog posts on our growing with some  features of where our flowers end up in-between.

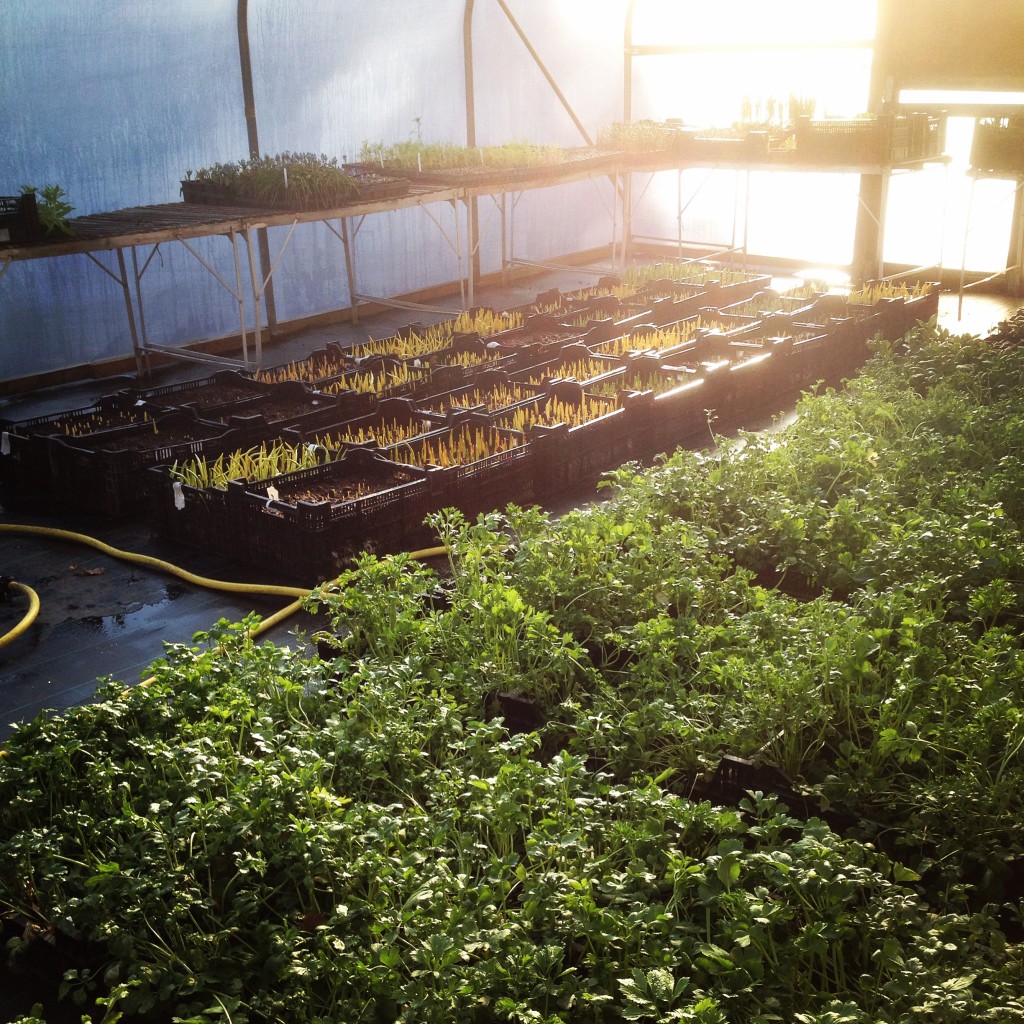
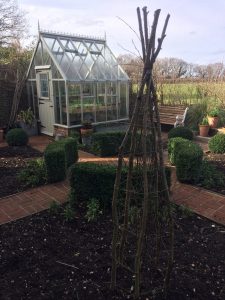
Everybody always thinks all of our flowers are produced at the cutting garden for the entirety of their life, and we have access to vast professional growing areas.  In truth all of our seedlings are started off in our small wooden 8ft x8ft greenhouse, that we built from scratch, at home.


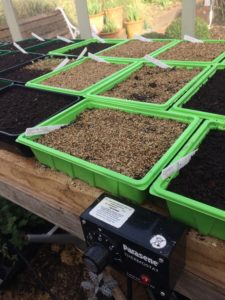
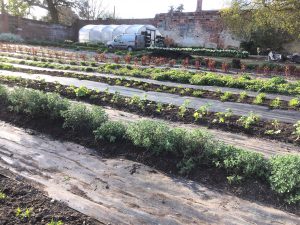
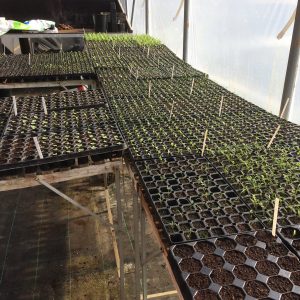
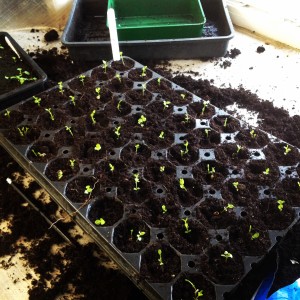
Our cut flower garden, although beautiful, has no other services but water.  With this the case and our need for warmth in the early part of the year we converted our home greenhouse (with electric laid on) into our Spring season propagation unit.  Everything that is now established and is grown annually in our two acre plot has started life in this little space.  This goes to show you how incredibly productive a small area can be.  We sow intensively into small, half size, seed trays with  250-500 seeds per tray depending on type and transfer the seeded trays on to heated benches in the greenhouse.  Yes, the seedlings can come up like cress!  As soon as they’re up we have to work quickly, pricking out into plug trays, so the seedlings don’t stretch.  We then grow them on in the cooler polytunnel down at the plot.  Our propagation times are programmed so we start off with the hardier varieties and move on to the more tender types as the weather warms.  This little greenhouse produces around 30,000 plants a year, most of them over the Spring season, it’s intensive and it works for us but we really wanted to illustrate to you that you can develop anything, from near nothing, if your passion is strong enough!


Bring on Spring!!

Pricking out Lavatera Seedlings


After what seems like an eternity not writing on this blog, today sees a return to us trying to keep it up to date with all things happening this year.  We have noticed though through following blogs of others, flower growers, as we are, start off the year with these great intentions when things start to move and inspire us in the garden.  It then sort of drifts off, as we become consumed with caring for our plants, knowing their flowers have been allocated to events to come.  We get easily engrossed with  sowing, watering, nurturing, transplanting, weeding, watering, watering, pinching, weeding, watering. But then, hooray, cutting and arranging!!!  Last year our business took off in a way we hadn’t quite anticipated.  Our own ‘from the garden gate‘ sales, farm shop sales, numerous weddings, parties and funerals with many other events besides, left us with little time for blogging.  This year though, we are going to be ‘on it’!!  Or so we hope.  We will see what prevails.  This year is already nearly full with weddings and our workshop places are filling fast.   2018 Weddings are also booking well but we will aim, between Brides and plants, as best we can, to keep this blog going.  We have extra help this year and you know what they say, many hands make light work . We don’t know whether there is actually such a thing as light work with flower production but there is so much we want to tell you about; growing techniques, what’s best to grow, harvesting and arranging.  Follow us over the coming weeks to see what is going on here at HQ, we want to inspire you all.

Today at last we see the onset of Spring and we are wanting to alert you all of the beauty of what is to come for the seasons ahead.  As flower growers, we get all excited at this time of year, our passion is about to hit full throttle and winter has seemed long.  Although we’ve been planning and plotting our growing areas, to us this bit is the drudgery, the boring bits we have to do, as with any job.  This winter period does get enlightened, however, by the seed and bulb catalogues arriving, giving us pictures of perfect blooms that we all hope to grow, our budgets becoming a little stretched with the orders that we place in anticipation of what is to come.  This week though, the sun has come out, even if briefly, and the weather has warmed enough to get going outside in earnest.

Jobs outside in the flower garden throughout Winter, although they have been tackled as and when they should, seem difficult when its freezing, when the rain blows horizontally and the soil is cold and sodden, or rock hard with frost.  A little bit of warmth is all it takes.  To feel the soil actually crumble between your fingers rather than stick to them, to have the sun on your face rather than the the biting wind and to come in from work not actually drenched to the skin.  This is when you know Spring is arriving.

By Valentine’s Day the light levels have increased enough to start the seed sowing.  This fills any grower with joy.  The seeds we ordered whilst sitting in the darkest of days can at last get their chance to thrive.  As a little tip here, if you don’t have the privilege of vast amounts of under cover growing area with additional lighting and you rely on growing the bulk of your cut flowers out of doors, don’t even bother to plant a seed before Valentine’s Day.  Those that germinate before this time will produce weak and feeble plants, the day light levels are just not high enough to result in good growth.  Be patient.  All too often, as soon as the first seed packets arrive on our doorsteps we can’t wait to see some new shoots of life and sow straight away.  This is only to our own peril and we usually end up re ordering seed to have a second go!!   By the time mid February is here though- go for it, sow, sow, sow!  Start with your hardy perennials, then in a few weeks time progress on to your hardy annuals and half hardy annuals a few weeks later still.  Save those gems for sowing such as Zinnias and flowering Basils until right at the end of the Spring season.  These guys really don’t like any temperature lower at night than 10 degrees celsius to do well, so aim to sow these at in late April or the beginning of May for transplanting outside mid June.  Seed sowing doesn’t stop there though, it continues right on until October, for all the crops to give you succession.  Whether it be more annuals, to continue your summer harvest, or sowing of biennials ready for transplanting in the Autumn or even more perennials that need to overwinter in the cold to germinate the following Spring.

Jobs for a flower grower never really stop and at this time of year there are only a whole load more to come. This year we want to tell you all about them all.

Bring on this Spring!!!…..

The mad season is drawing to a close but another begins…..

table centre wreath 065With the onset of Autumn, in earnest.  The mad period of sowing, propagating, transplanting, tending and cutting is coming to a close, the mass clear up is underway.  Clearing the debris of this years spent crops, cultivating before it gets too wet to go on the land and getting all those Spring flowering bulbs and early flowering biennials into their final positions ready for an explosion of colour next year.  We always have to be that far ahead in our thinking.  Sometimes knowing what we have to grow, through knowing the all time favourites, sometimes not knowing and trying to choose varieties that will satisfy the oncoming trends.  At times with growing there’s always a bit of ‘pot luck’ involved!!

The planting of thousands of bulbs is underway and it won’t be long until the shorter days will make time for sorting out all the seed orders, in time for next Spring when the madness will start again.

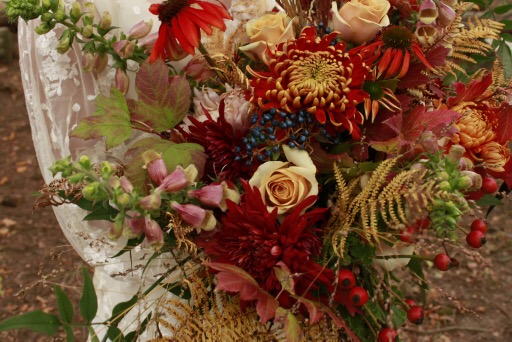
With the close of one season comes another, and although we have been preparing for Christmas since July, gathering seed heads, drying hydrangeas, and sorting promotional material for workshops and the farmers markets we go to, the reality of it hasn’t quite hit yet.  It wont be long though.  Harvesting evergreens and holly, gathering hips and haws to embelish our winter designs and looking for that ever evasive material to make your products look just that little bit different, to help catch the onlookers eye.  However, there is a warmth to this oncoming time of year, even though you may be freezing whilst working outdoors, that feeling you get when you create what we do this time of year and know its usually going to be the main item that people see as they enter your home or sit around your dining table over the festive period.  Knowing that we have produced a focal point that’s involved when bringing family and friends together is heart warming…

A Railway Wedding…..

It all started with a Facebook ‘like’.

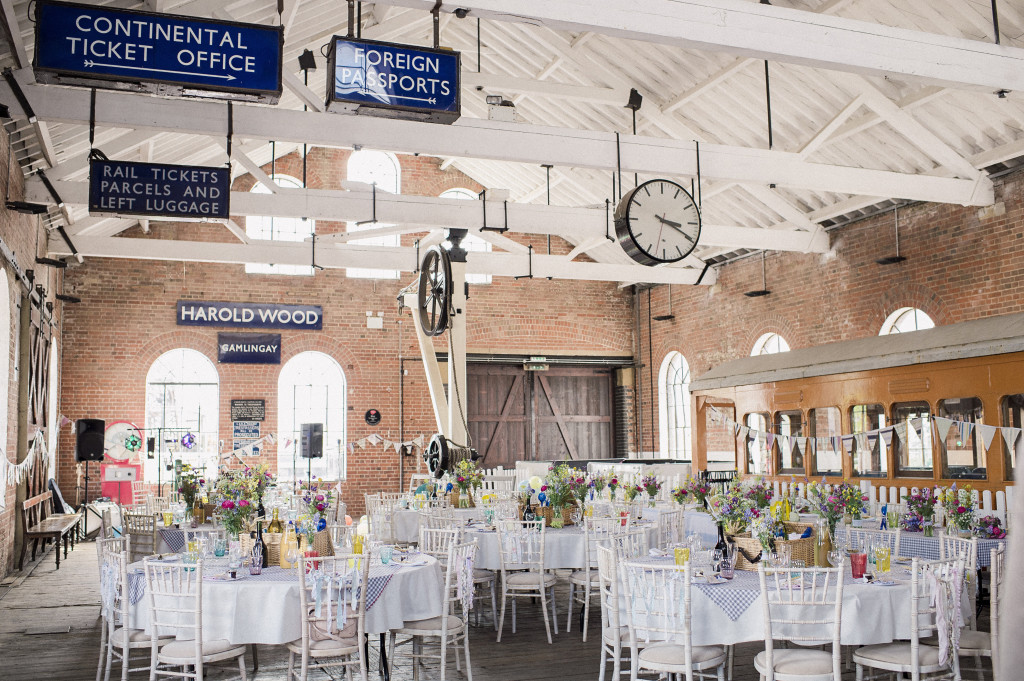
One day in 2014 when we posted on our page that we were to attend a 1940’s Vintage Railway event at the beautiful East Anglian Railway Museum at Chappel, Essex.  Here we would be selling our bunched, homegrown flowers from a track side stall, and within a minute or two a comment was received telling us ‘Thats where we are holding our reception next May, we will come and see you’!!

And sure enough we met.

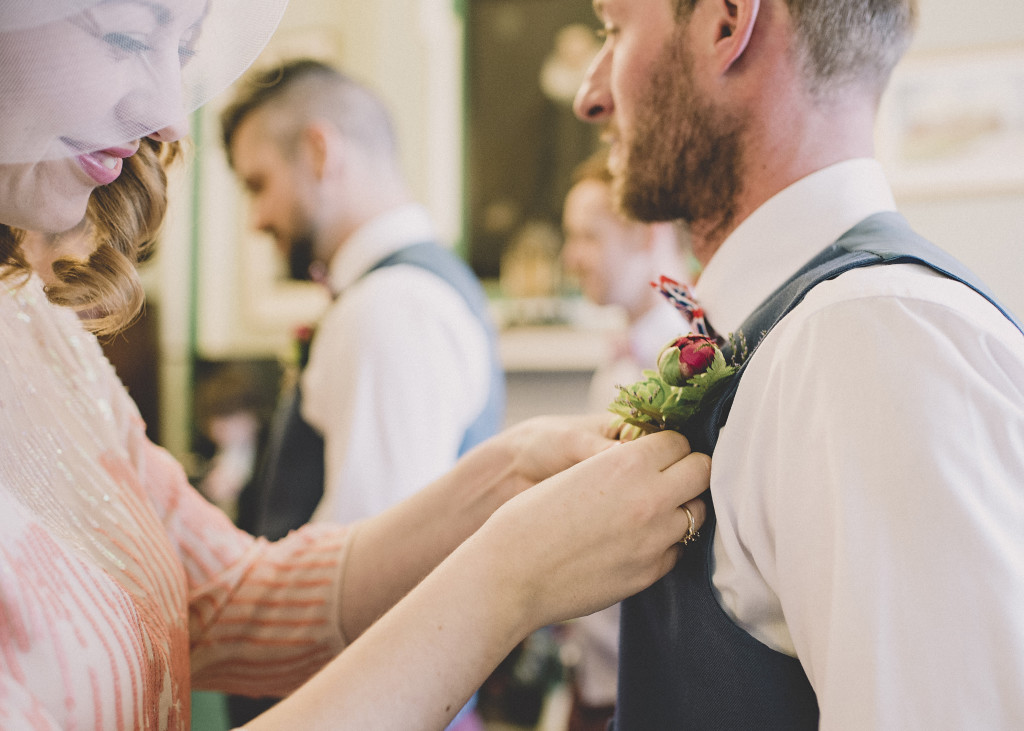
That meeting was with Fiona and Dan.  They explained to us briefly and excitedly they were loving our seasonally grown flowers, and the style of flowers that looked like they had just been plucked from the surrounding countryside was just what they were after, to compliment their wedding theme.  And a theme it was….

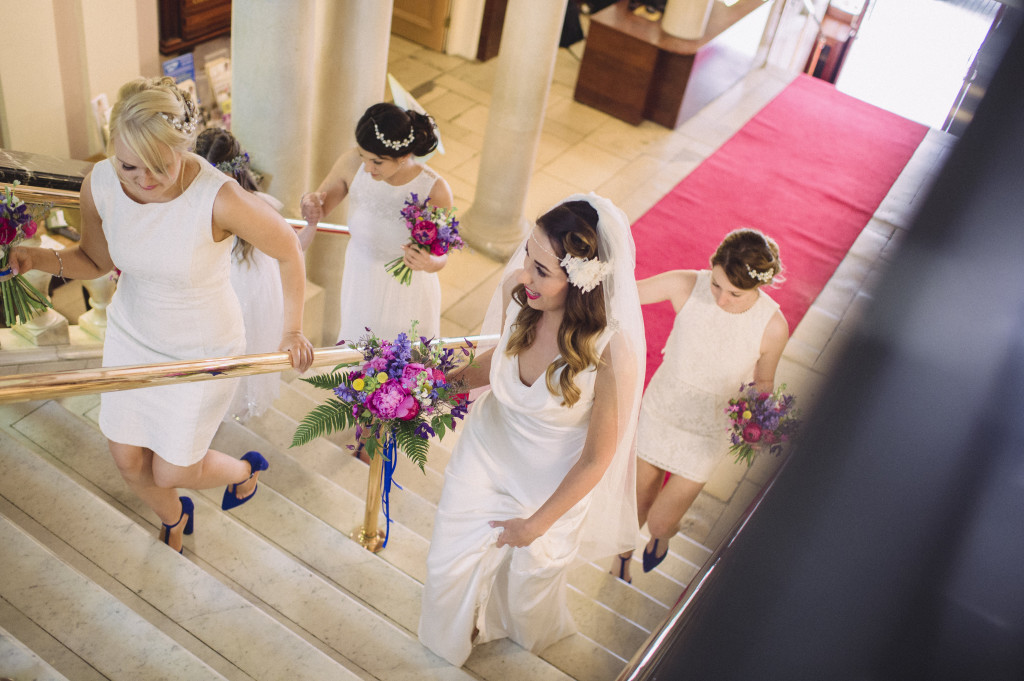
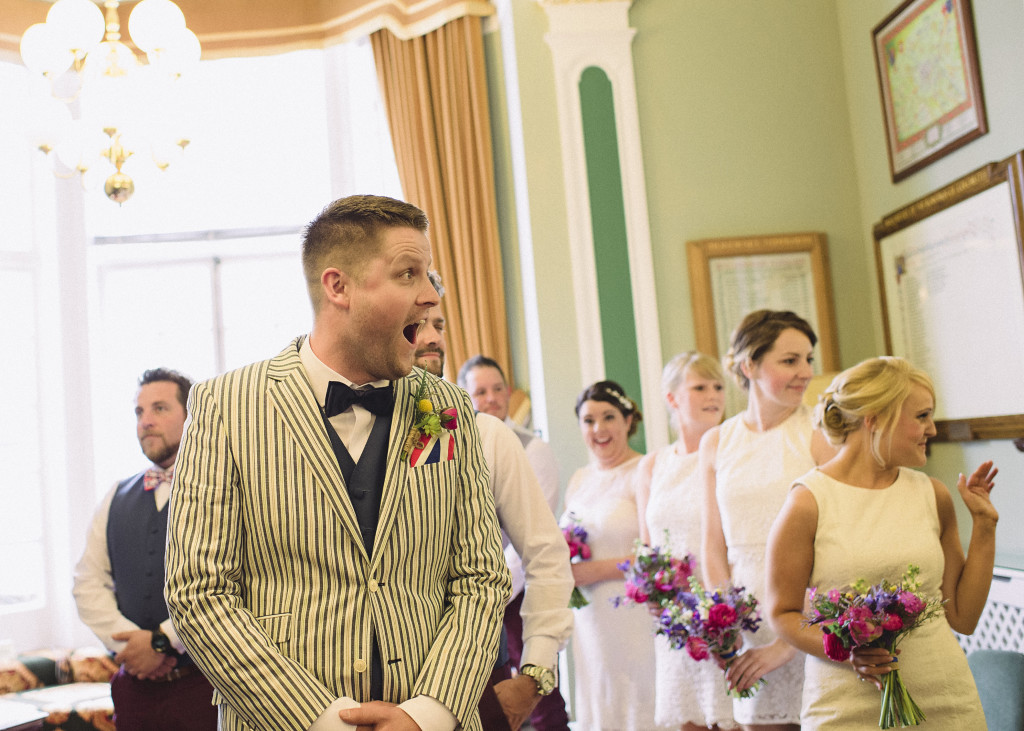
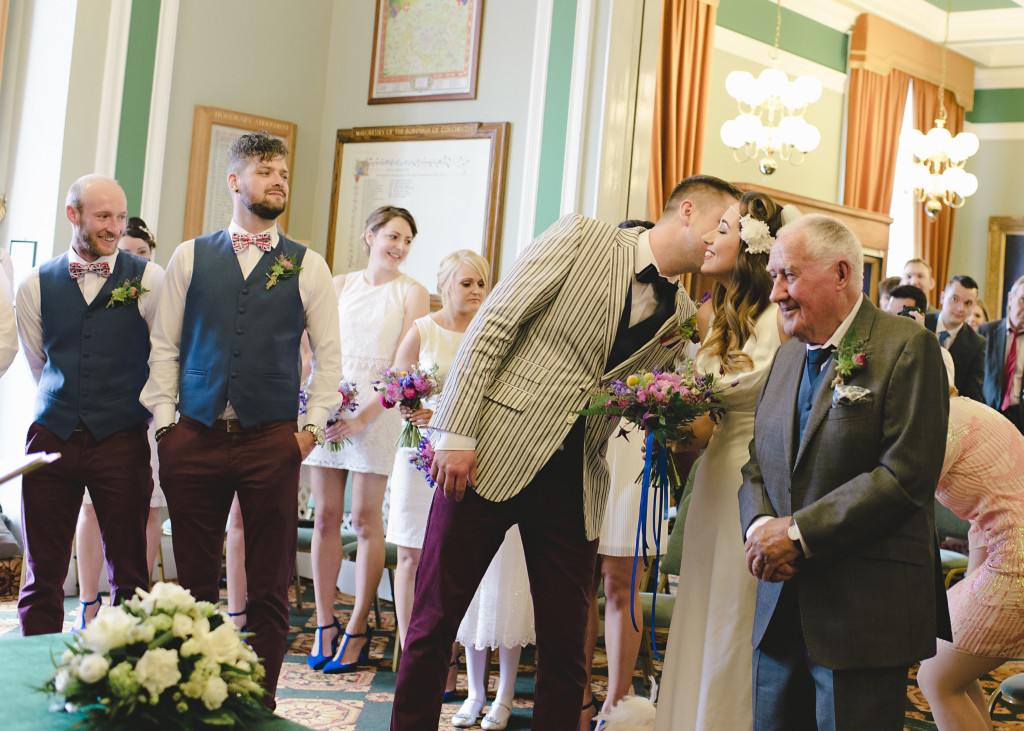
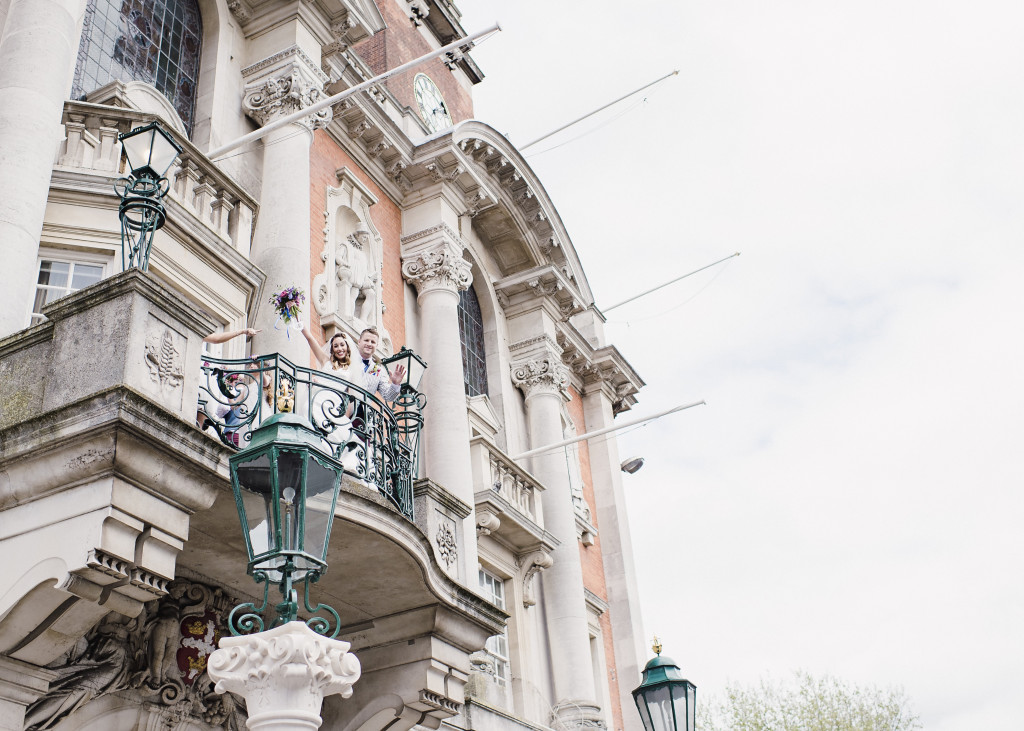
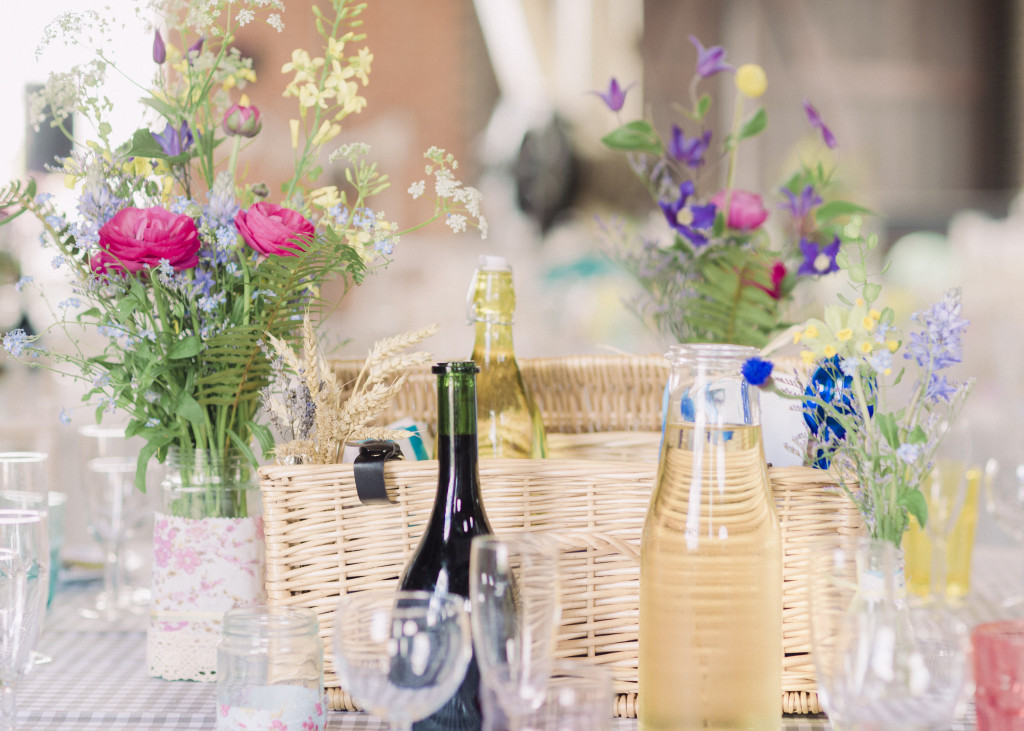
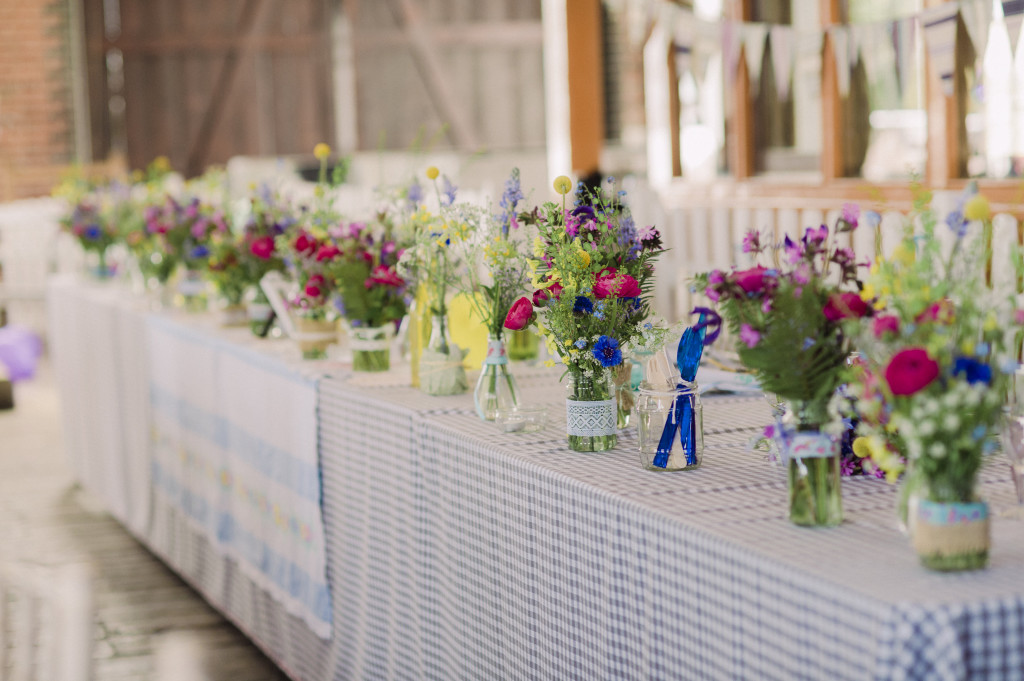
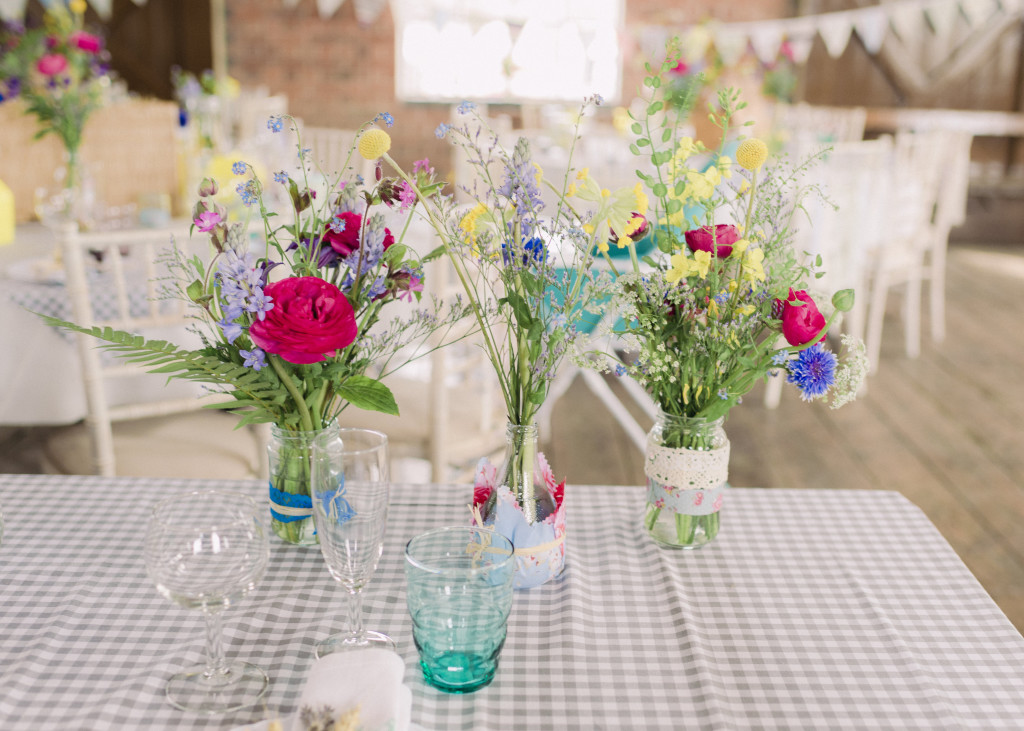
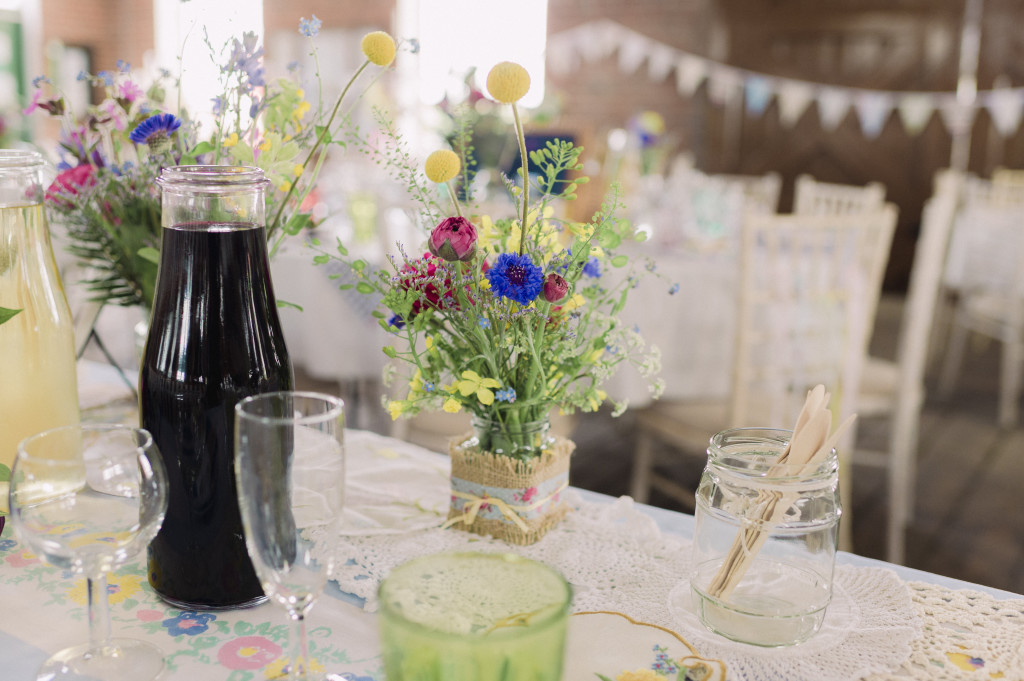
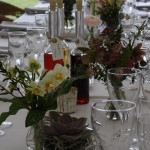
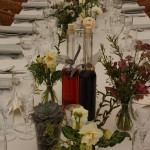
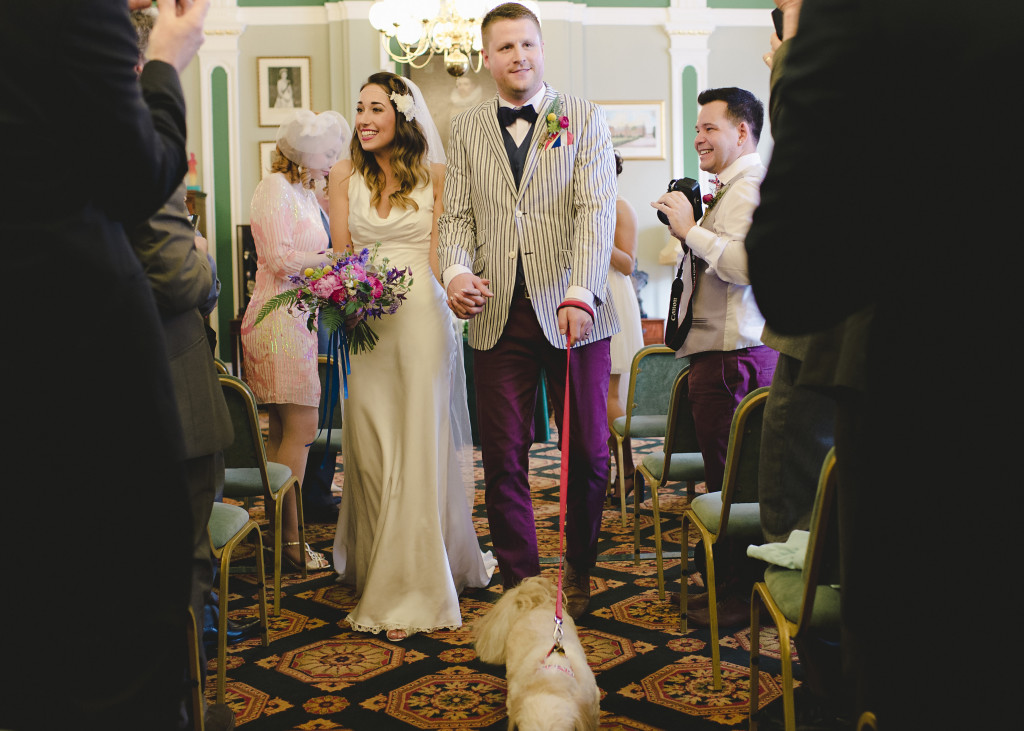
After a couple more meetings to discuss and finalise everything we soon realised everything about their day had been thought through carefully with fun for themselves and their guests involved in every aspect.  It was to be based on a great ‘British’ day out (in retrospect the first journey they were to take as Husband and Wife), a marriage ceremony in the beautiful townhall of Colchester and after, a day out with buses, a trainride and a picnic for all.  View More: http://razialife.pass.us/fiona-and-dans-wedding

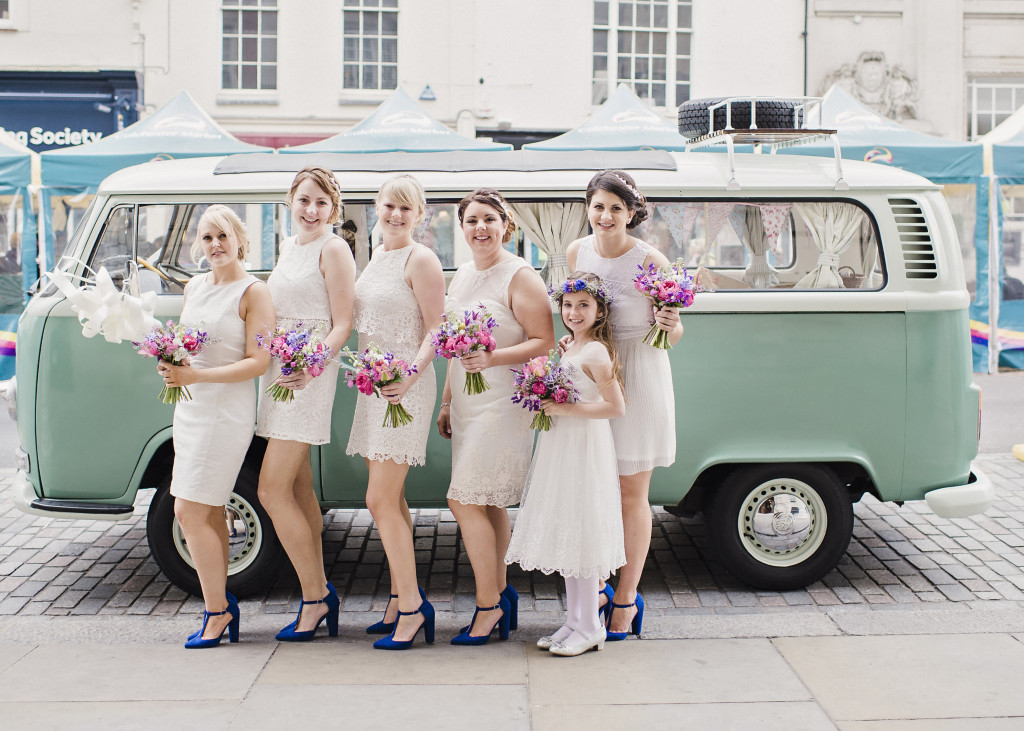
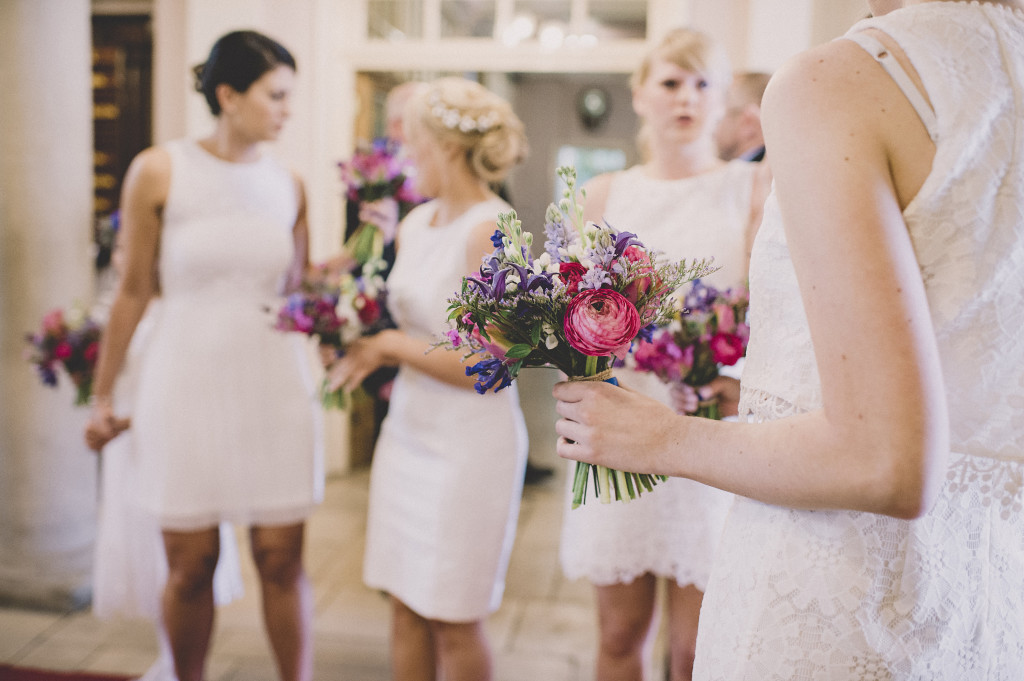
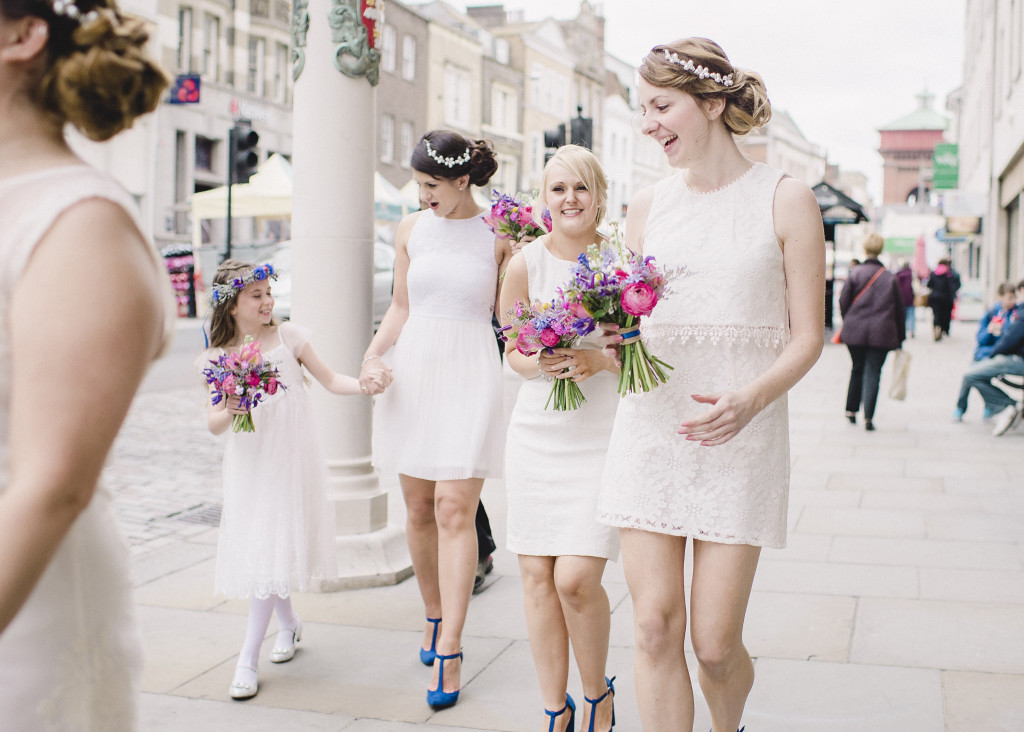
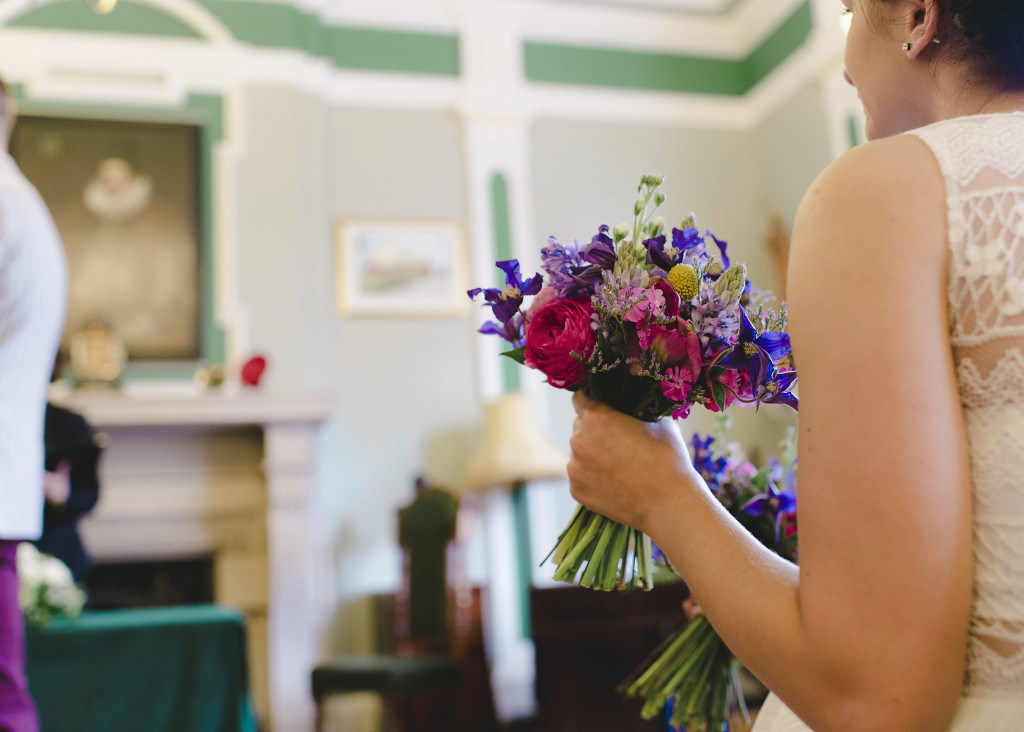
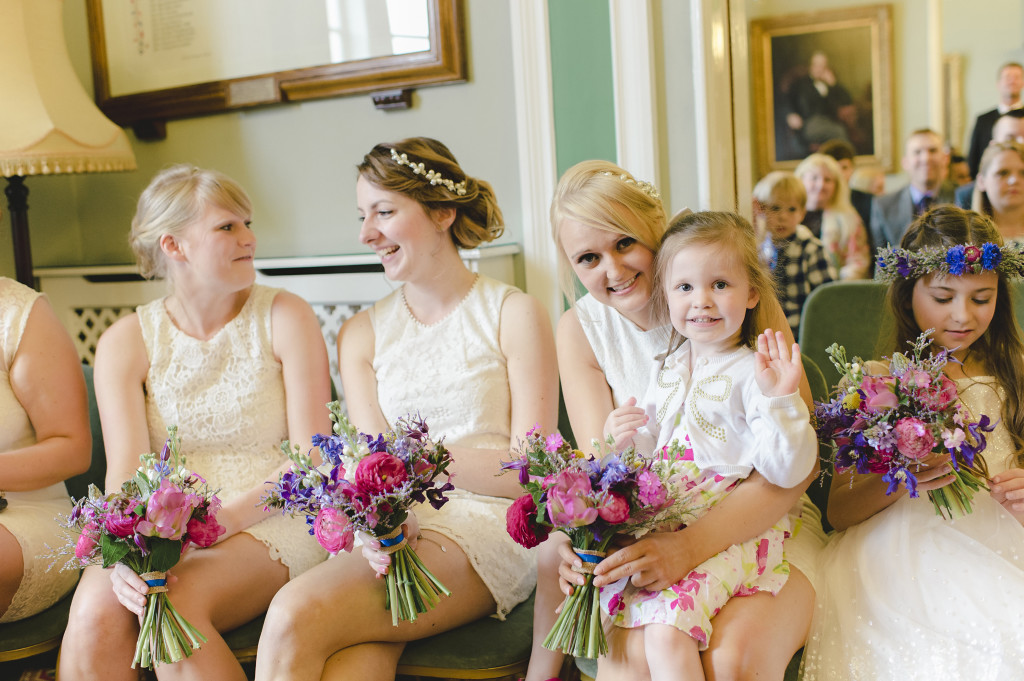
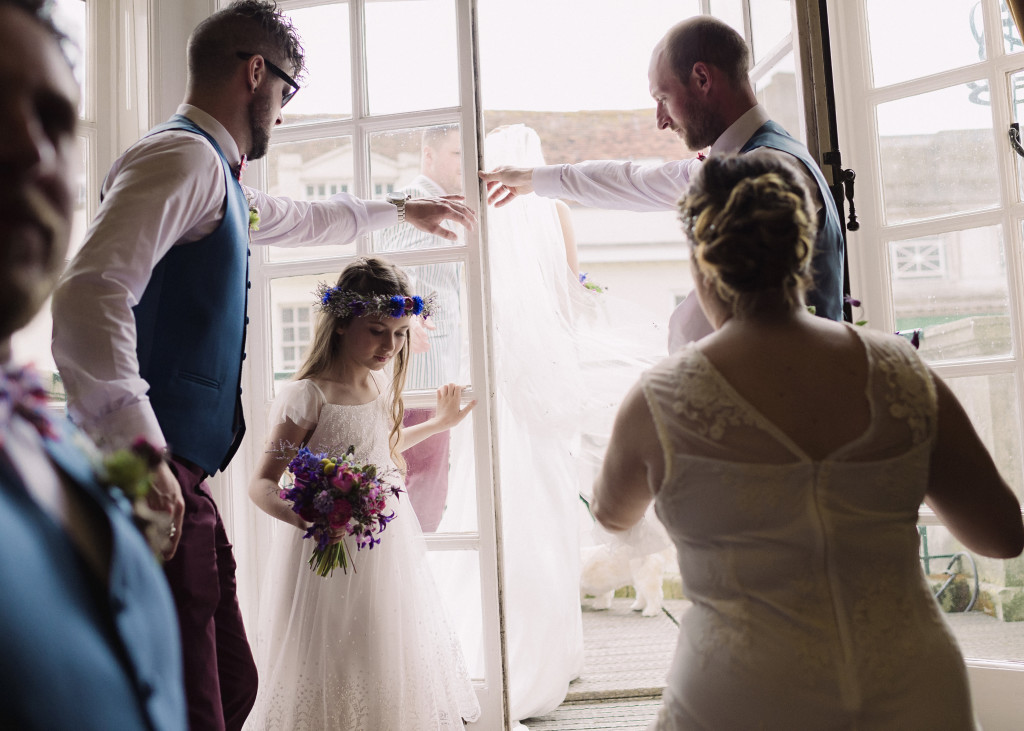
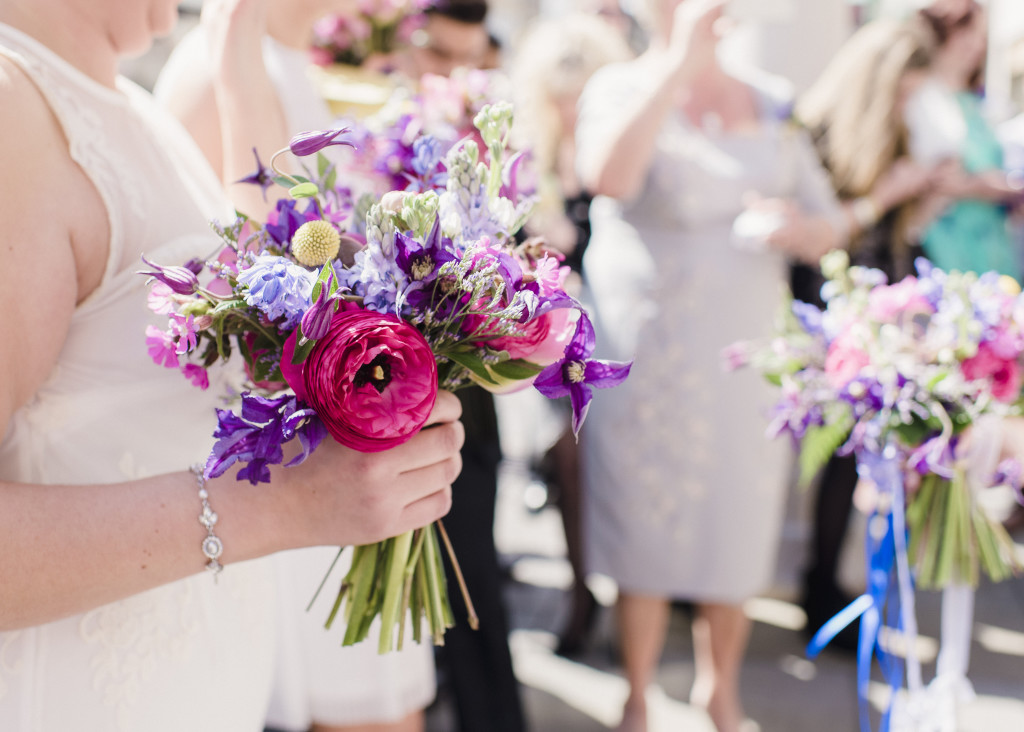
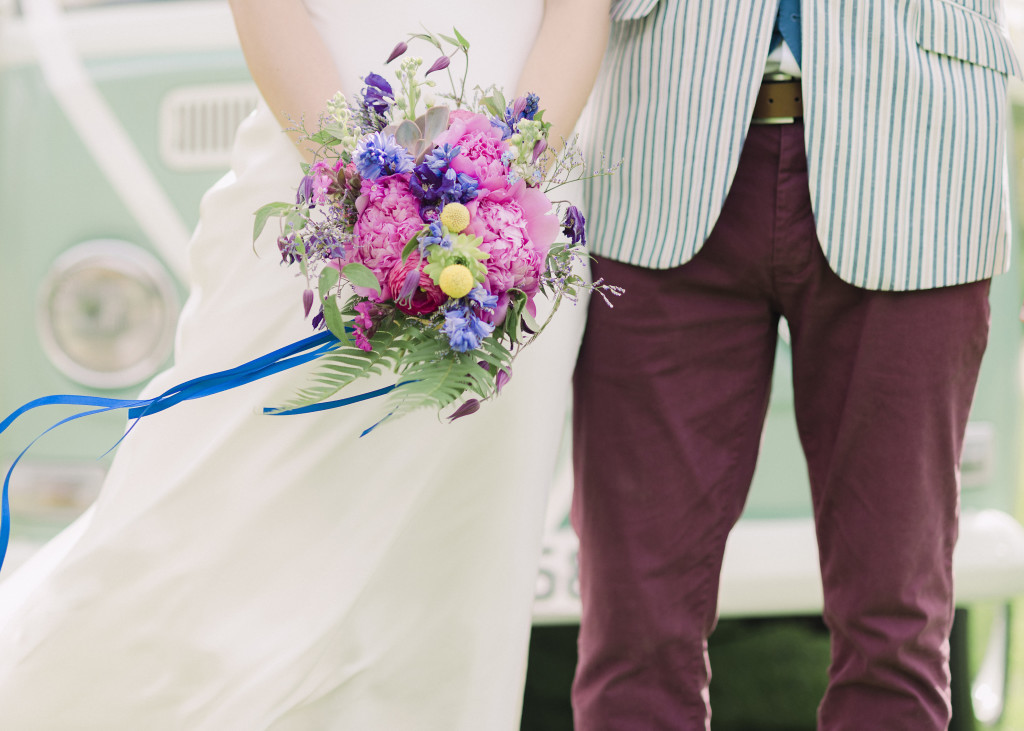
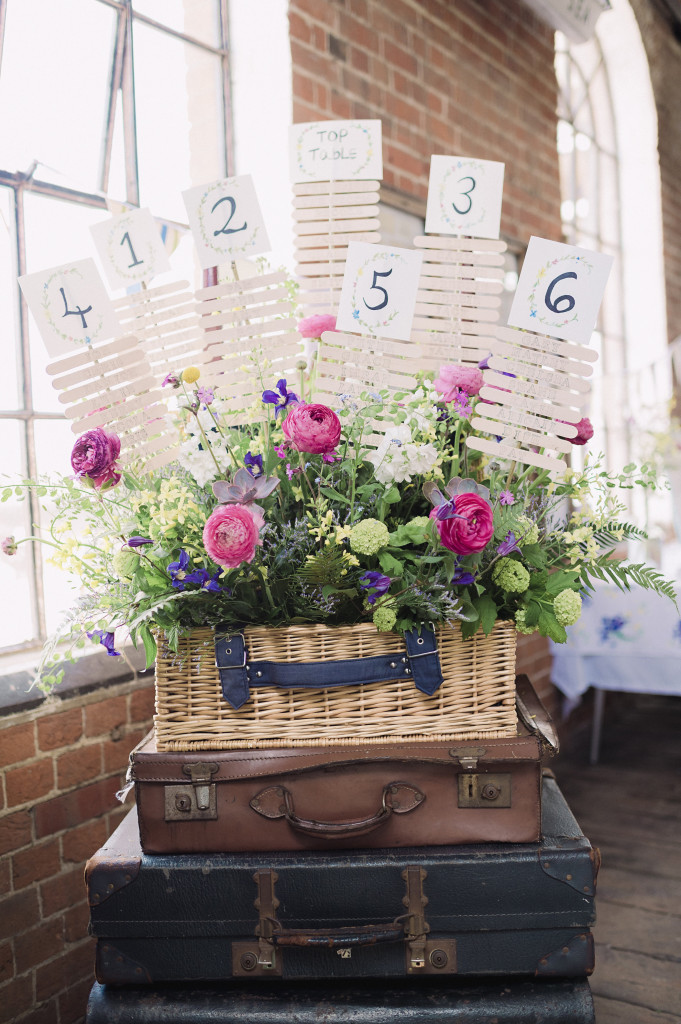
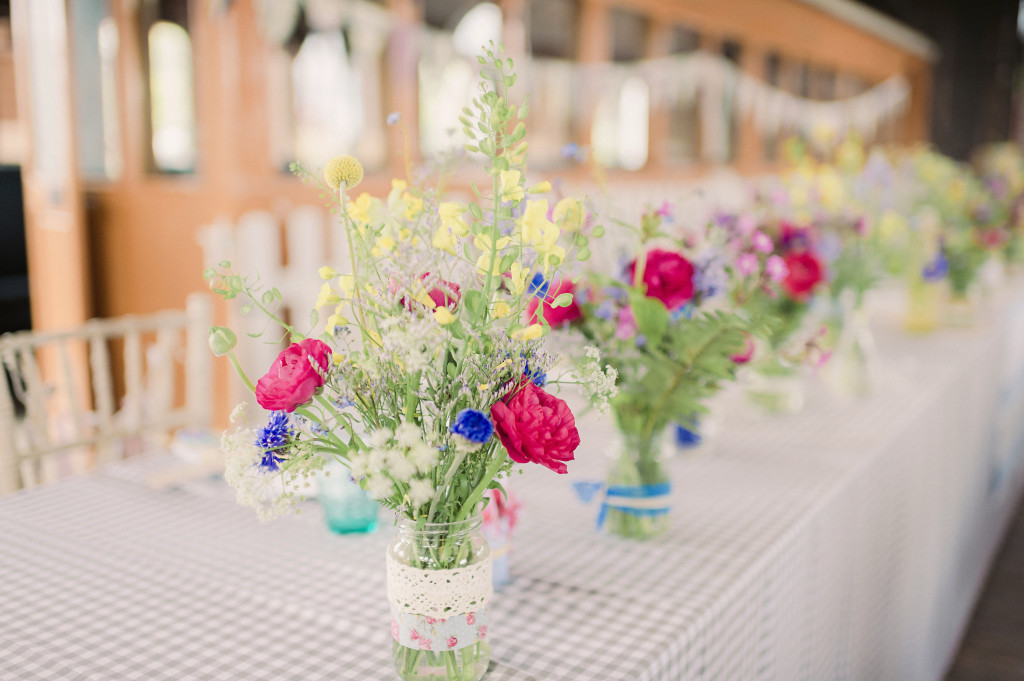
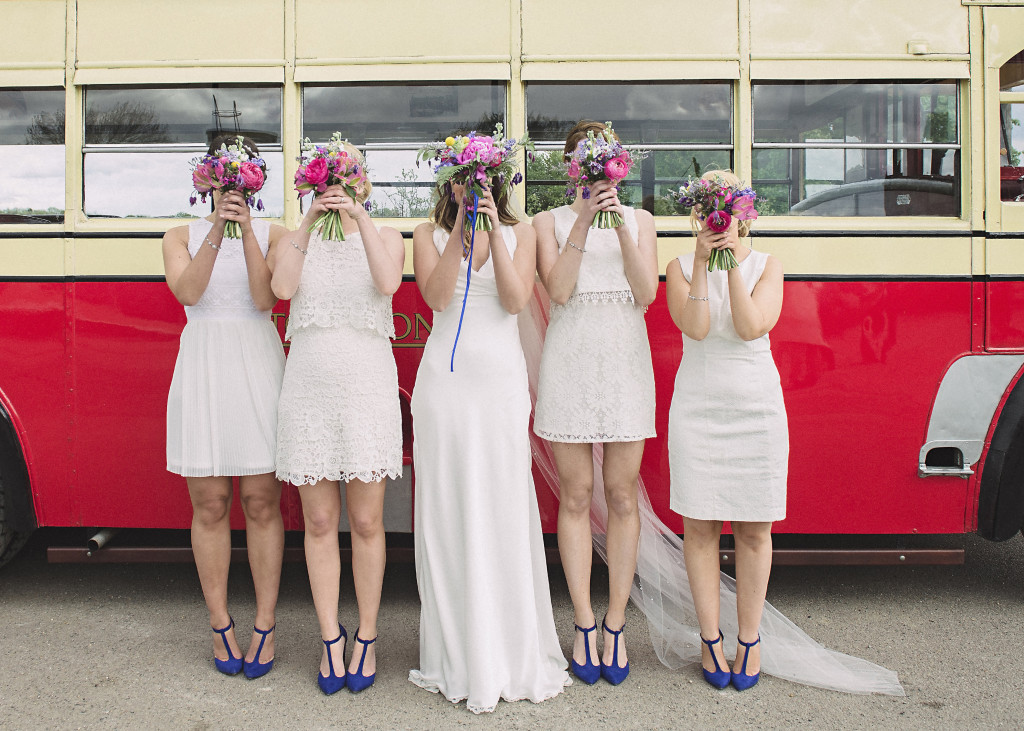
The flowers were to pick out colours of, perhaps, an excited journey you were to take as a child, when going to the seaside.  These colours and textures to reflect the fun they both wanted to achieve for their day but given more of a vintage 1920’s twist.  This achieved with the addition of fern leaves and succulents but the main flowers to remain, on the whole, quintessentially English, Peonies, Bluebells, Ranunculus, the odd Tulip and Cowslips from the garden to compliment the Bridal party’s dresses and the Groomsmen’s attire for the day.

It was great to work alongside a couple who had a great sense of fun and the vision to pay the attention to the smallest details, to ensure the whole day was enjoyable and memorable for everyone.

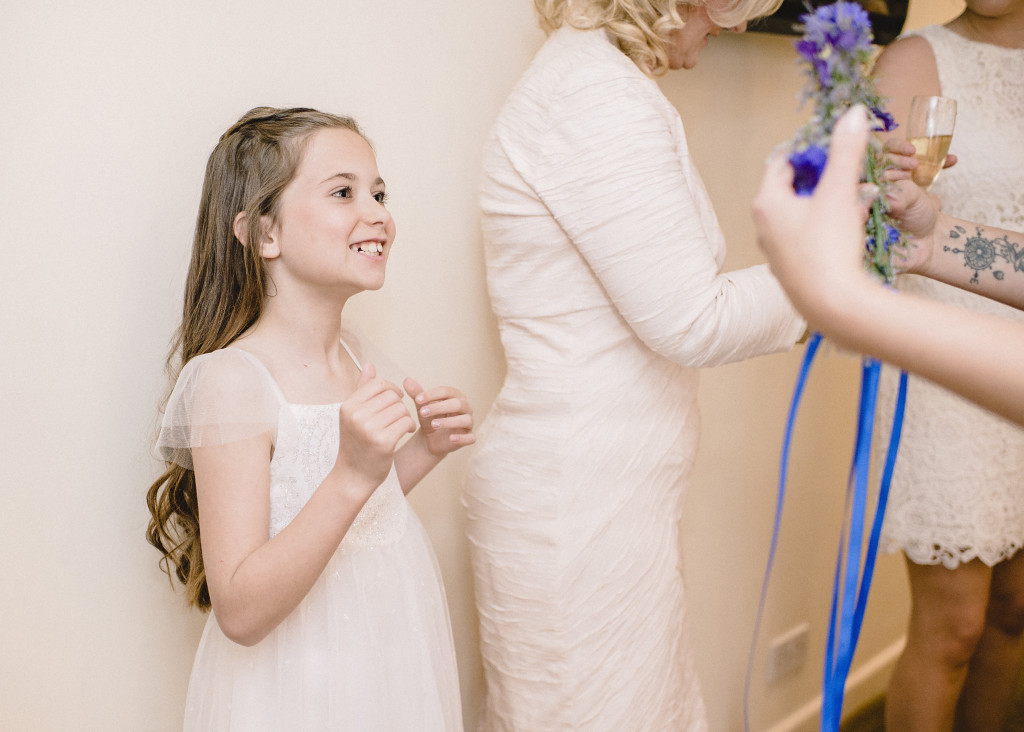
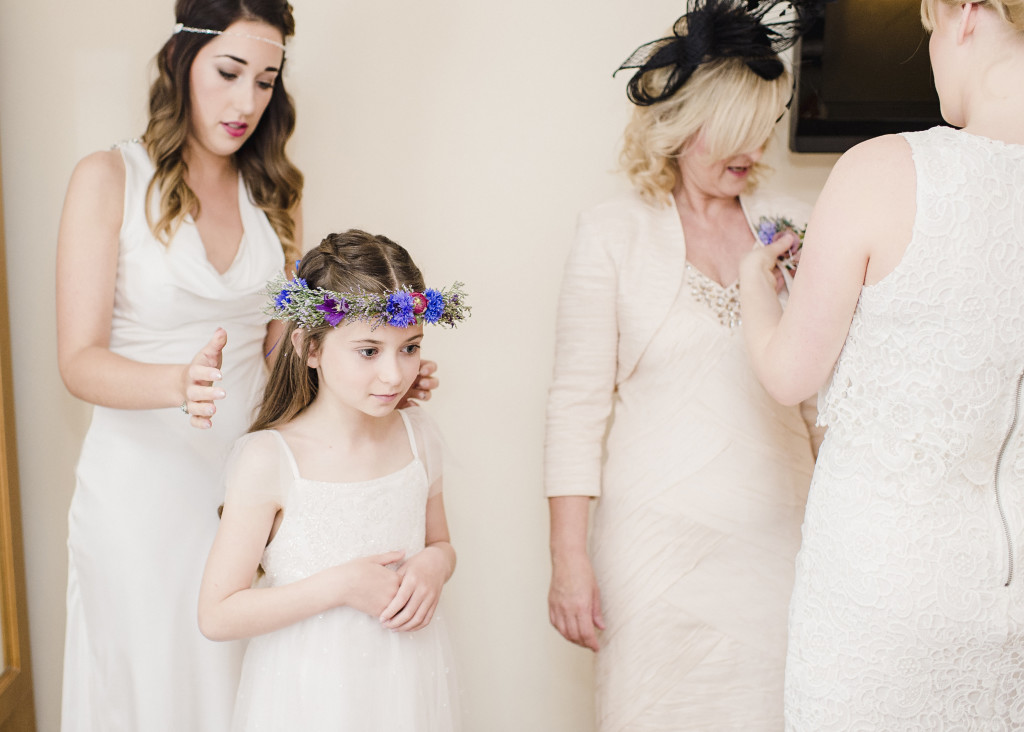
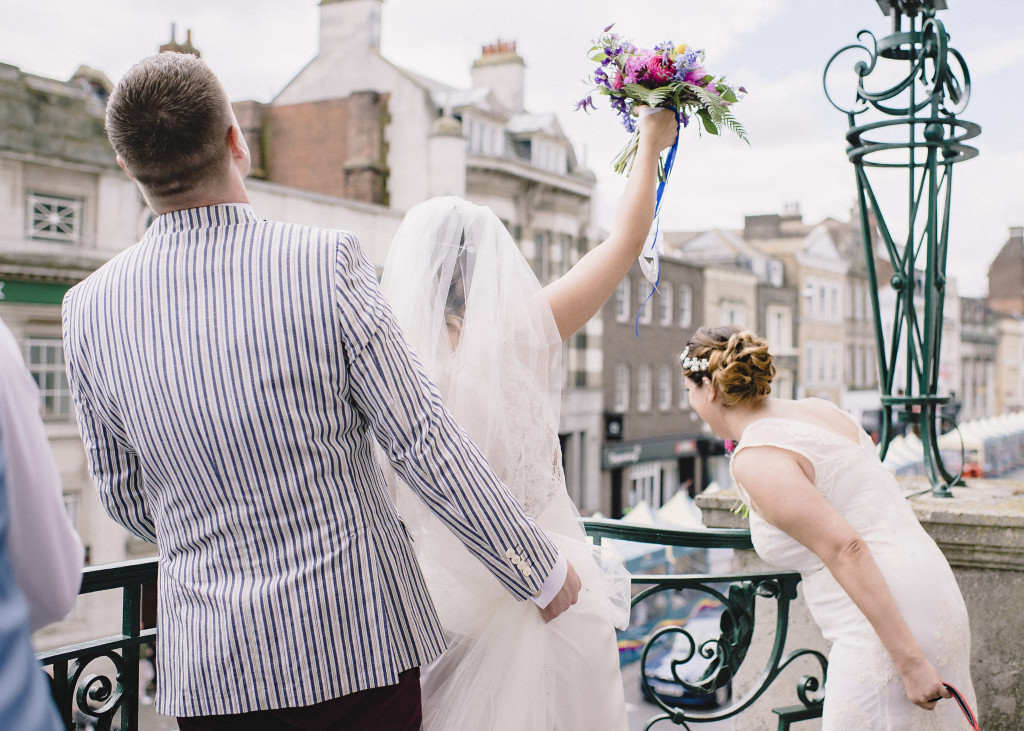
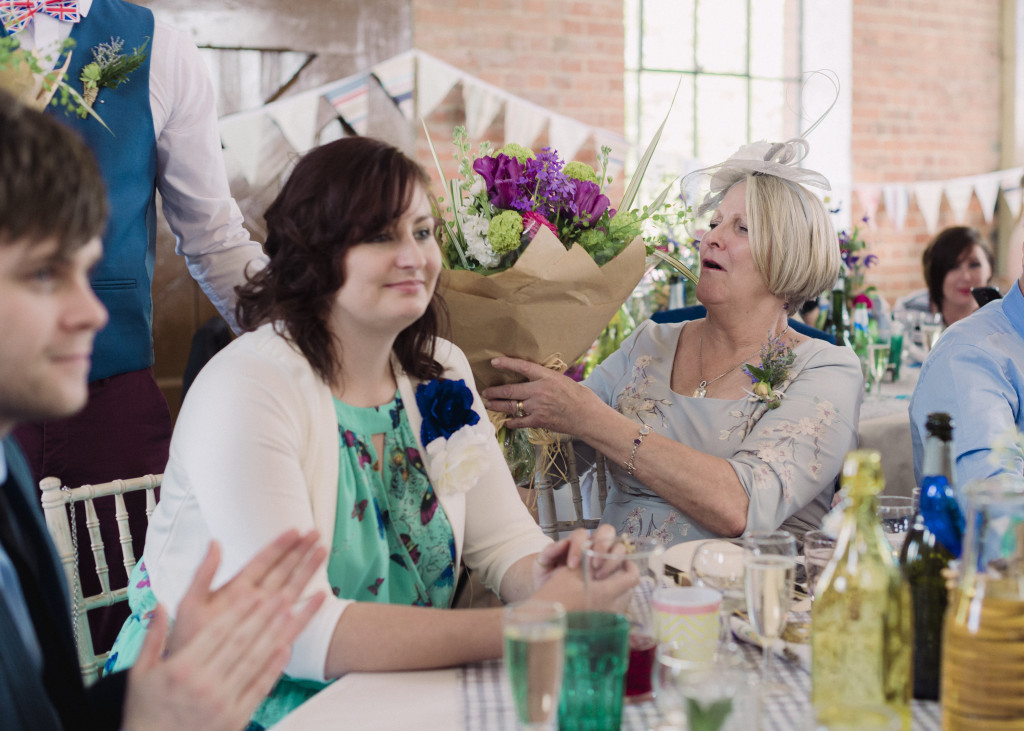
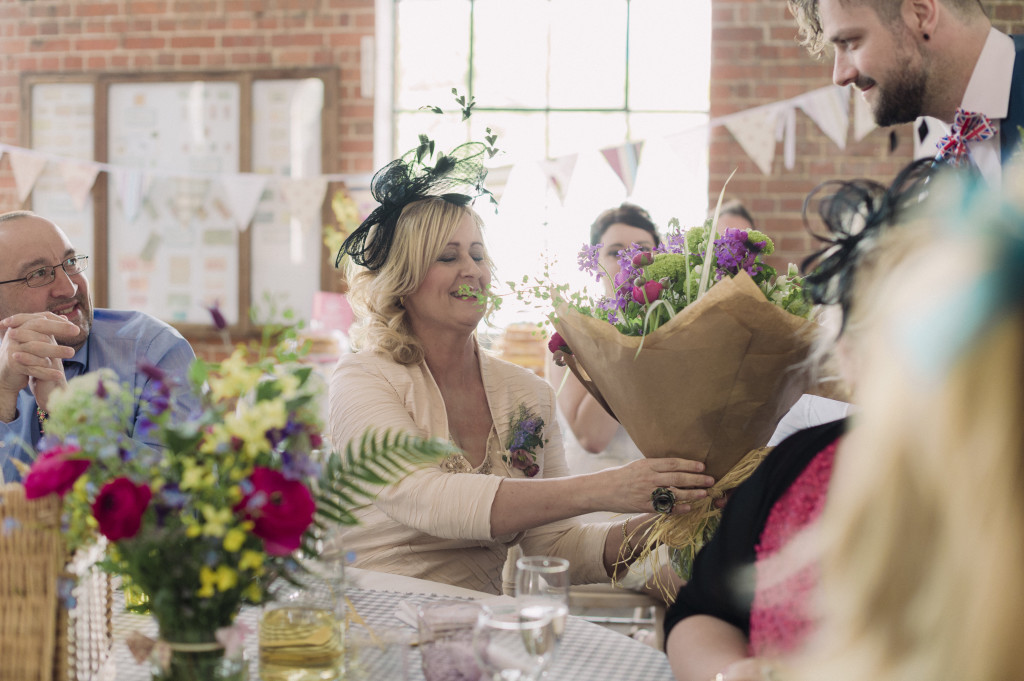
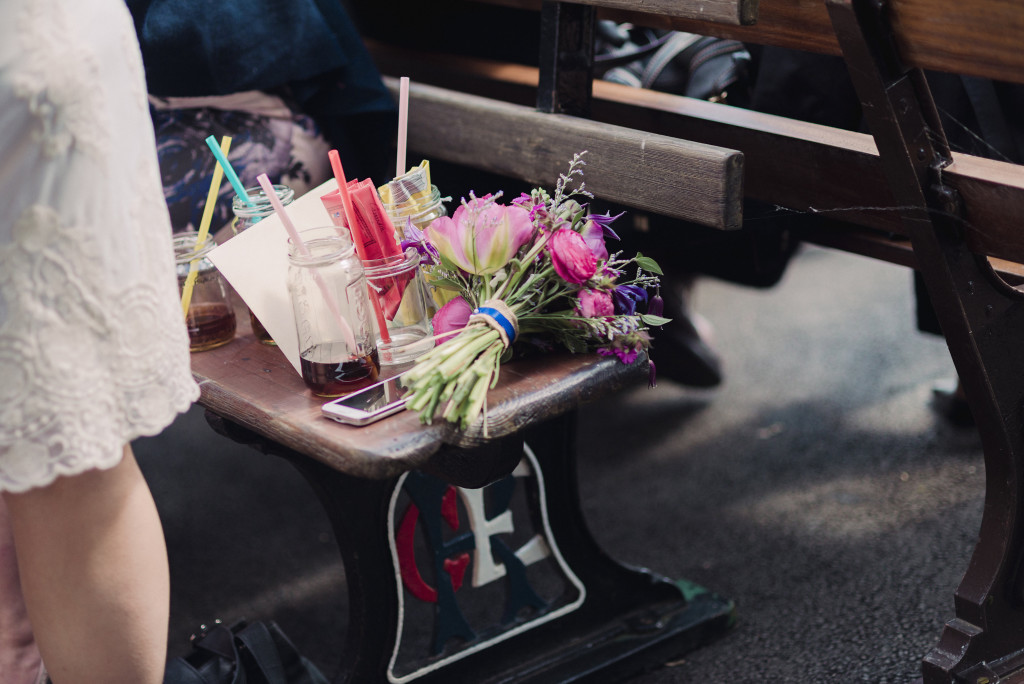
We were so pleased when Fiona and Dan sent us some shots of their day, it can be seen from the anticipation from the flower girl receiving her floral crown to the appreciation and smiles, not only from the Bride and Groom, but from the rest of the guests how the most amazing day was had.  We are so glad our flowers contributed to that.

All the best Fiona and Dan, we had great fun too…………..

Styling; Fiona and Dan Jones

Flowers; The Country Garden Flower Company
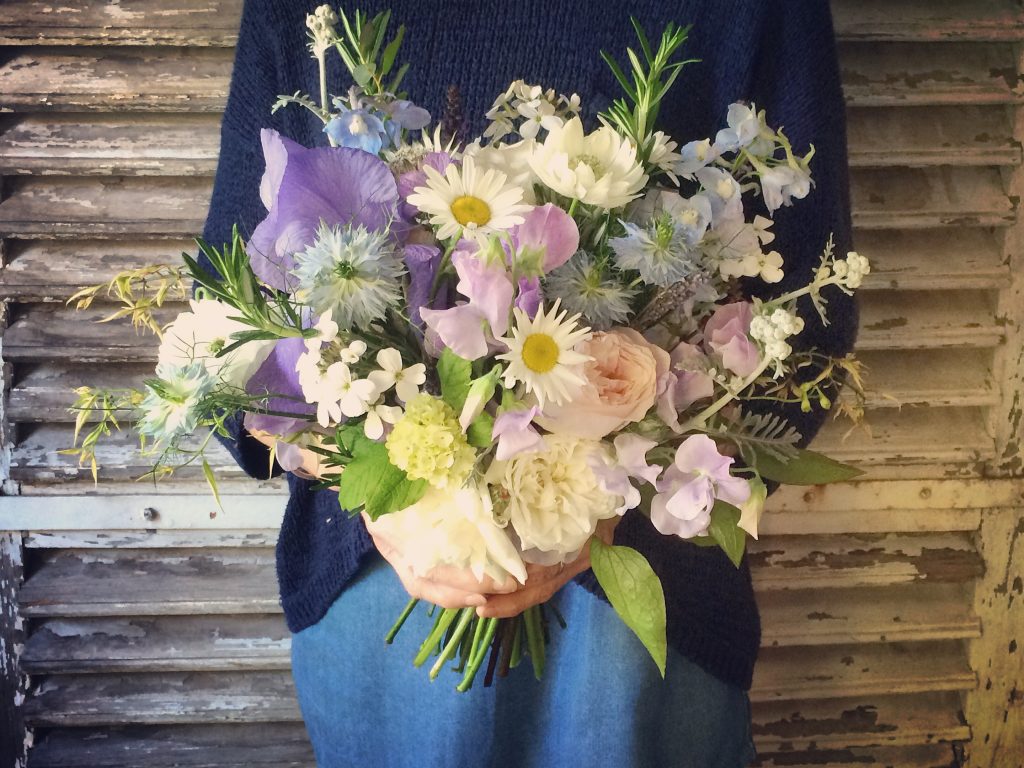
Photography; Razia N Jukes Photography

26th April 2015

Blossoms and branches………

April and May are the most dramatic two months of the year, the transformations we see are astounding, you can more or less see the changes by the minute.

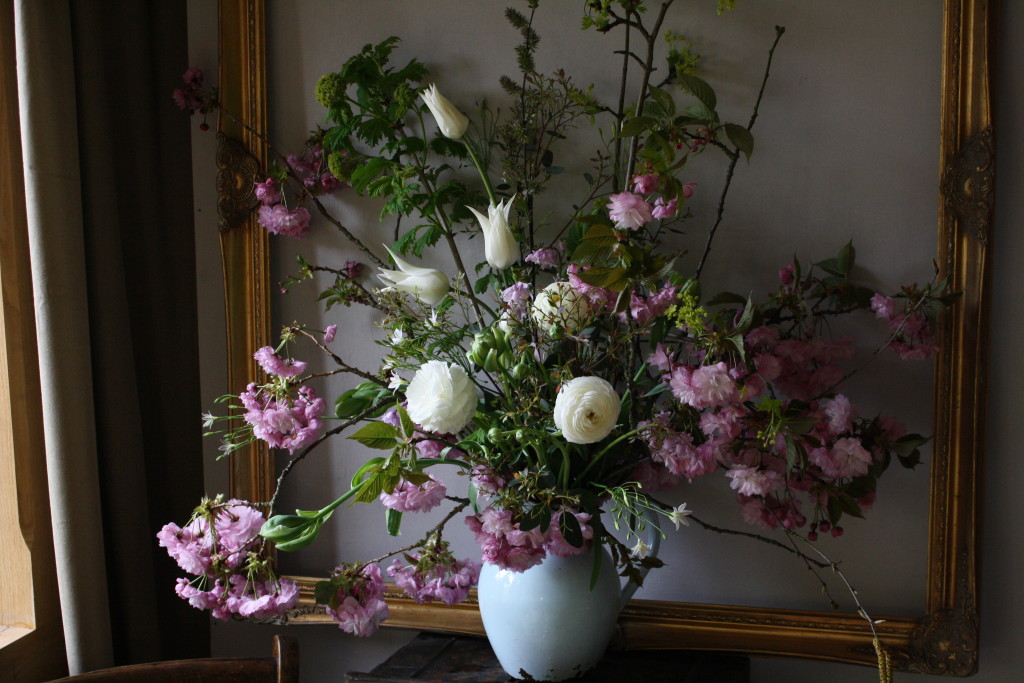
Each night when we arrive home from work, just a quick glance around the garden will show us that.  The flower buds are beginning to form on the early summer perennials, the early Spring ones are now fading and the bounty of late Spring is now upon us.  Branches of pink blossom are now abundant among the trees, the Tulips are replacing the Narcissus and the Bluebells are beginning to bloom.  The Nightingale has arrived and is singing relentlessly, the Swallows have arrived and Cuckoo is beginning to call, all the signs that the beautiful English Summer is just around the corner.Blossom and boughs 064

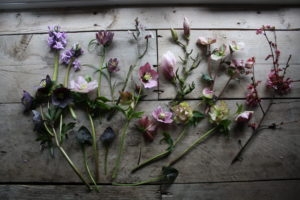
It always seems such a rush at this time of year everything is in a hurry to have it’s showtime, some so fast you blink and miss them.  It is time now to take a moment gather that snapshot in time, as for week by week it alters, and the beauty that is around us will be lost for another year unless we do something to appreciate it more.  The combinations of flowers that can be cut and enjoyed indoors at this time of year is nearly overwhelming. Our minds buzz with how many of them we can achieve but at this time of year it is definitely about the trees, they are fleeting and their blossoms so varied in their forms, the Cherry with all its exuberance, the Maple and Viburnum with their dainty floret clusters down to the Willow and Birch trees and their catkins.
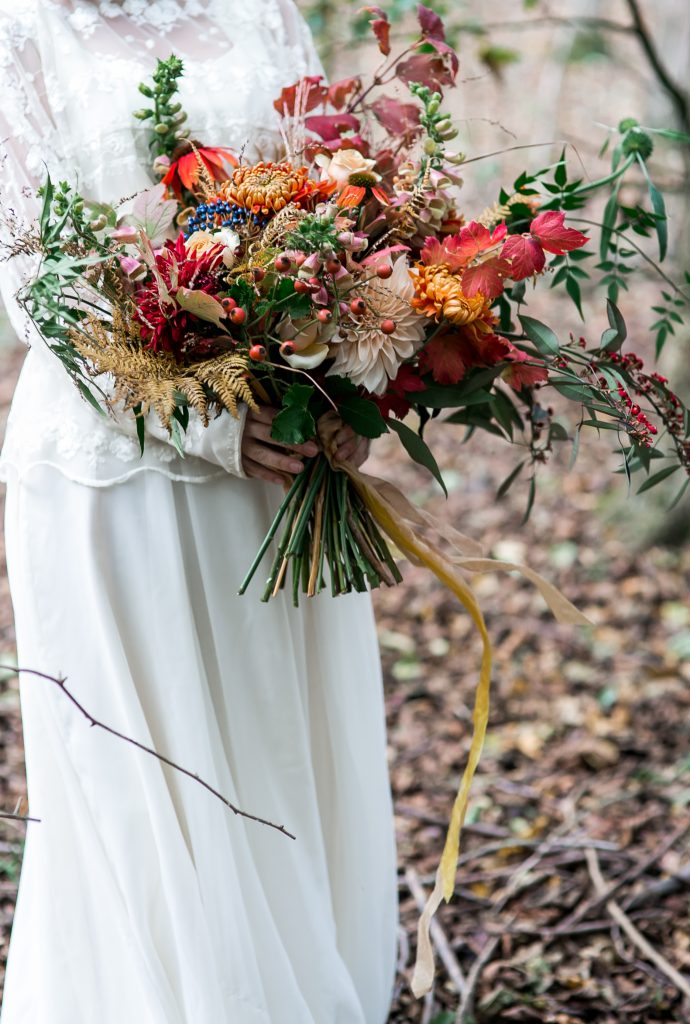
Use them simply, cut a few stems and place them without fuss into a vessel, combine with a few other blooms of the season and enjoy….


19th April 2015

Ramblings of a Gardener……..

 As we work outside today, the wind still bites. There is definitely not just a nip in the air here!!  Everything is still behind, when we compare what we were picking this time last year but hey, we were probably spoilt with the weather we all enjoyed in March 2014.

The leaves on most of the trees, except the Ash, are beginning to emerge.  Does this mean by the old saying ‘Oak before Ash, we’re in for a splash’, Ash before Oak we’re in for a soak’ is going to ring true??  If so it will mean lots of watering for us this summer!!  To be honest we could do with a bit of rain now to settle in the seedlings. 

It’s great, that at long last, the whole landscape is beginning to look 3 Dimensional again, after what seems like ages of barren branches and twigs.  The buds on the trees have started to give us that illumination of Spring Green, the Blackthorn is flowering like mad and gives, an almost ghostly white appearance in the hedgerows.  Spring,  although taking its time in arriving, as we thought it would, is happening in a hurry this year.  It won’t be long until our road verges are filled with frothing Cow Parsley, wafting aimlessly as we drive past.

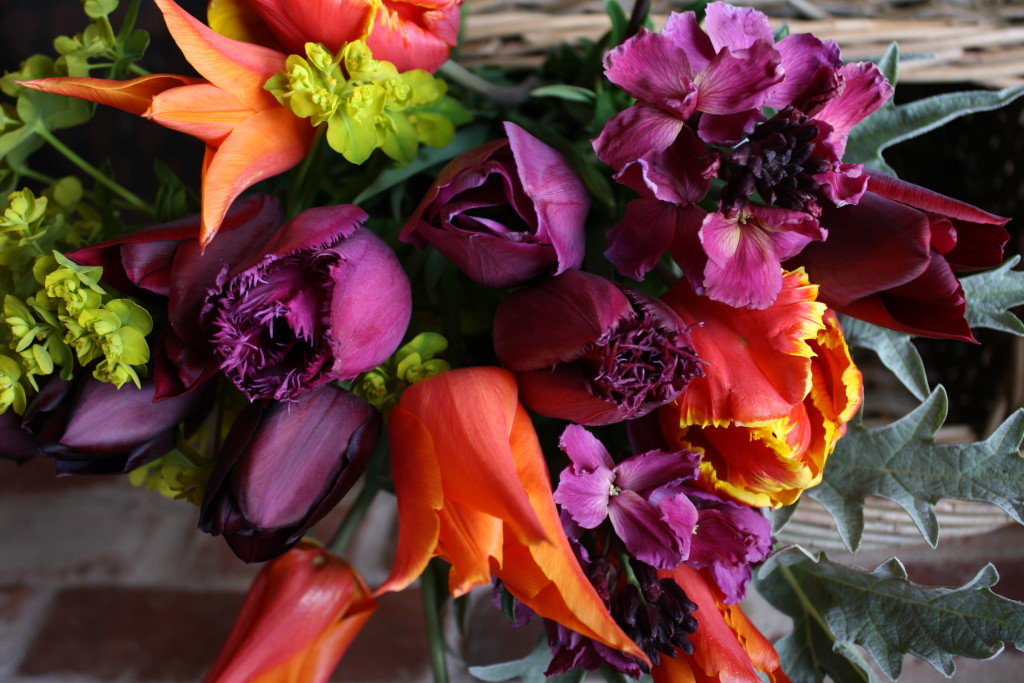
In the greenhouse the seedlings are growing fast, our days are spent transplanting them into plug trays and transferring them to the polytunnel to grow on.  In the garden the Tulips are coming into their own, we’ve been picking them and arranging for others all week .  This evening it has been great to pick some, along with the beautiful Wallflowers and Euphorbia palustris, and just enjoy them for ourselves.

……………


12th April 2015

The season is kicking in……..

The wedding season is well and truly underway.  All of those meetings earlier on in the year with prospective couples have started to come to fruition.  The reality of transforming all of their ideas for their special day, brings the whole of  what we are about to life.   The exhilaration of  cutting our own flowers combining them together, with others if we need them,  to create their dream and then finally the apprehension.  The apprehension of hoping you have got it all spot on when the Bride views her venue and receives her bouquet.  There is nothing more scary than thinking we may have it ‘not quite right’ but absolute elation when we see the the results of our toil were everything that was wanted. 

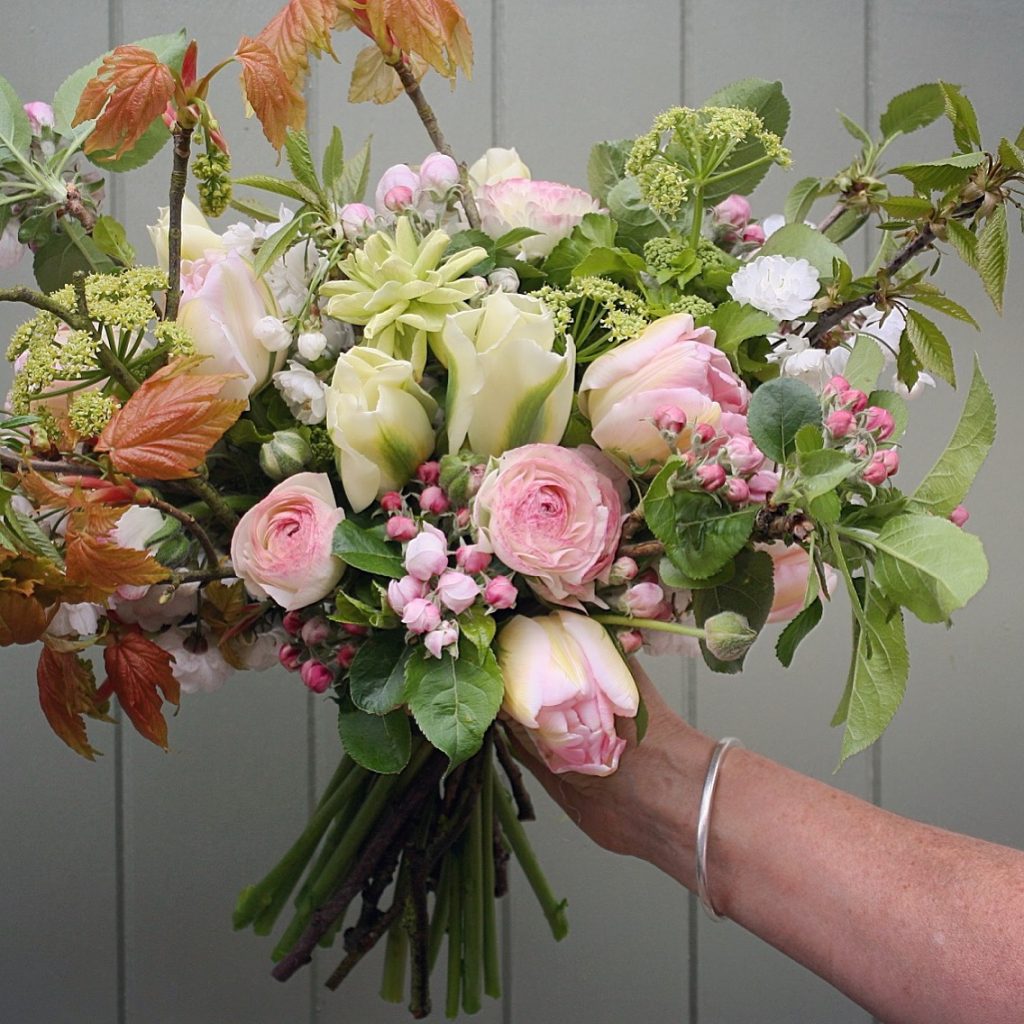
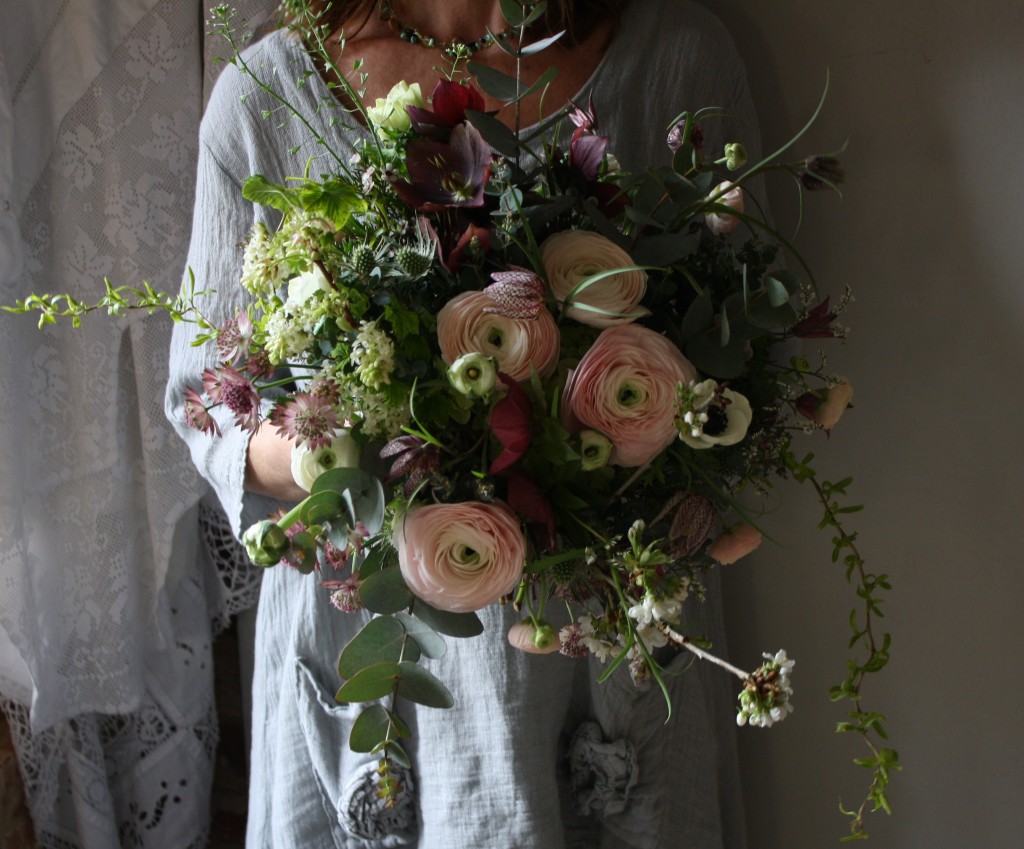
Sometimes to create, all that is needed is observation.ranunculus bouquet 045  For us it is all about watching nature, looking at how things grow, their natural forms, how they combine together, this is not just flower arranging it’s about a whole garden, the season, and the plant combinations that we know work well.  Colours, textures, forms and using them to their best.


Nicola and Stephen’s wedding yesterday was all about that, seasonal, natural and beautiful